DIY PROJECTS
DIY 50+ Wooden Candle Holder Base
"One day at a time, One project at a time."
DIY 50+ Wooden Candle Holder Base
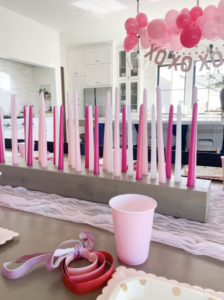
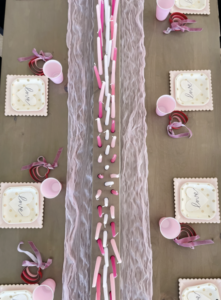
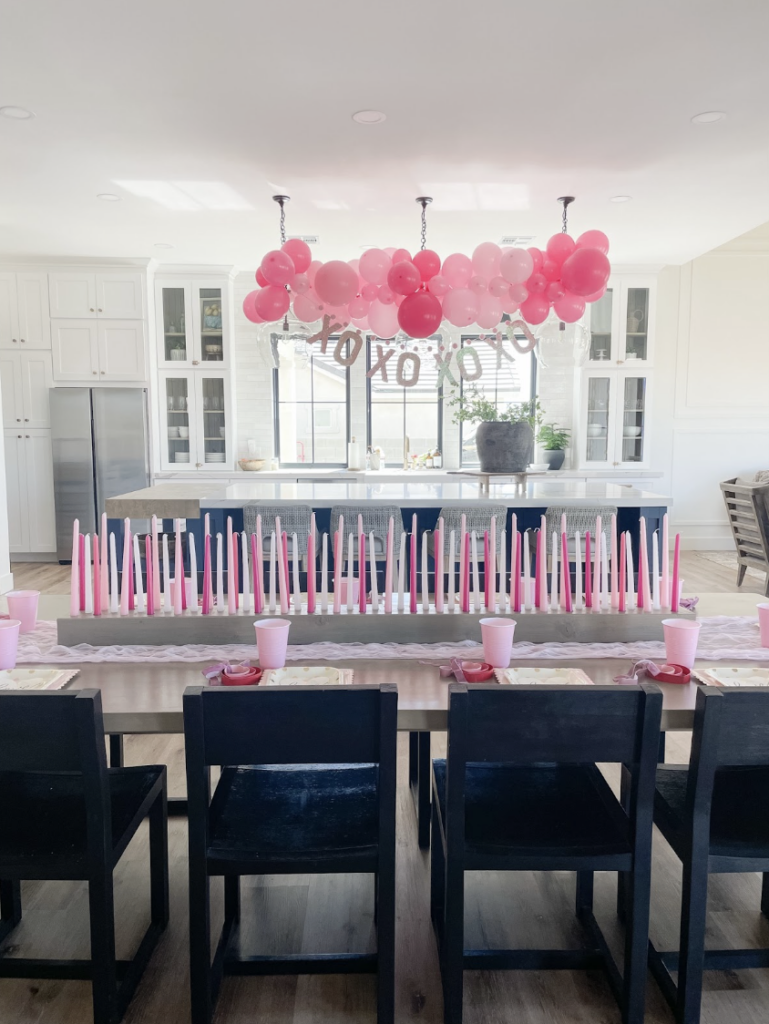
I decided to host a Galentine’s party this year and I wanted to do something a little extra special for the girls. Although I have someone else coming to host a cookie decorating class, I can still decorate and make the space look festive and pretty.
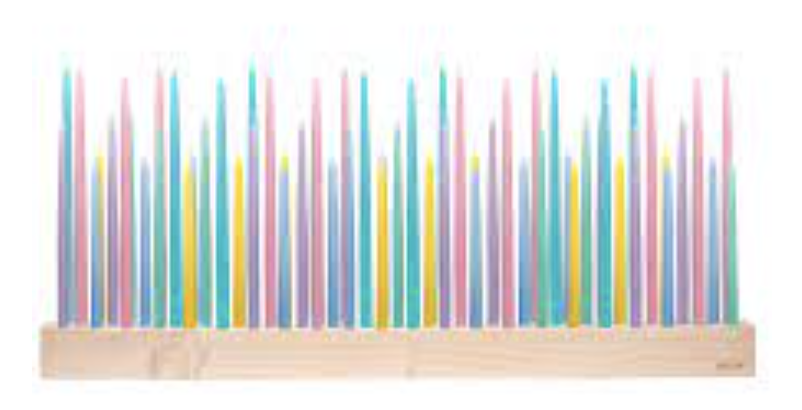
I came across this candle holder base (photo below) from Aglow and loved the idea but I wasn’t willing to spend $125 for a piece of wood, when I know I could do it for a 1/3-1/2 of the price. So knowing my handy do-it-yourself kind of self, that’s exactly what I did.
Items you’ll need:
(1) 4x6x8ft Lumber
Tools & Materials:
- Measuring Tape
- Electric Sander (optional)
- 220 girl Sandpaper
- Miter Saw
- Drill
- Forstner Set or 7/8 Forstner Drill Bit
I knew I wanted a round coffee table in this space. Wasn’t sure what I wanted but after doing a lot of research I found this inspiration photo below and wanted to mimic something just like it. So here’s how I did it.
Follow These Steps!
Step 1: First you want to cut your piece of wood to whatever length you want your candle base to be. I cut mine at 6ft. You can cut smaller ones or keep it at 8ft. Just keep in mind where you are going to display this beauty at (dining table, entry table or kitchen island).
Step 2: Next you want to make an outline on the piece of wood of where you are going to make your holes. You could do random holes on your board but I wanted everything to be pretty evenly spaced. So I started with marking the middle of the wood. This size of wood should be 5 1/2 inches wide so the middle should be 2 3/4 inches. From there, I measured 1 1/2 inches from the top and bottom to find my top and bottom line.
Next, I started my first mark by measuring 2 inches inward on one side of the wood, on the top and bottom
line and after that 1 1/2 inches for the middle line from the top and bottom mark. Then from there every 2 inches from the first mark. Hopefully that makes sense
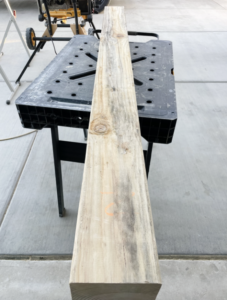
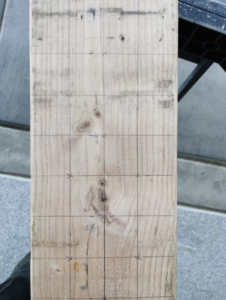
Step 3: Now that you have all your marks mapped out on your board you can start drilling the holes with
your forstner bit. I used the 7/8 drill bit. I drilled on a piece of sample wood to make sure the candlesticks would fit. So make sure your candlesticks will fit before you start drilling your candle base.
There should be a pointing tip on the forstner, place that on the center of your mark and drill down about an inch into the wood. Check with a candlestick if the depth is good or if you need to drill a little deeper.
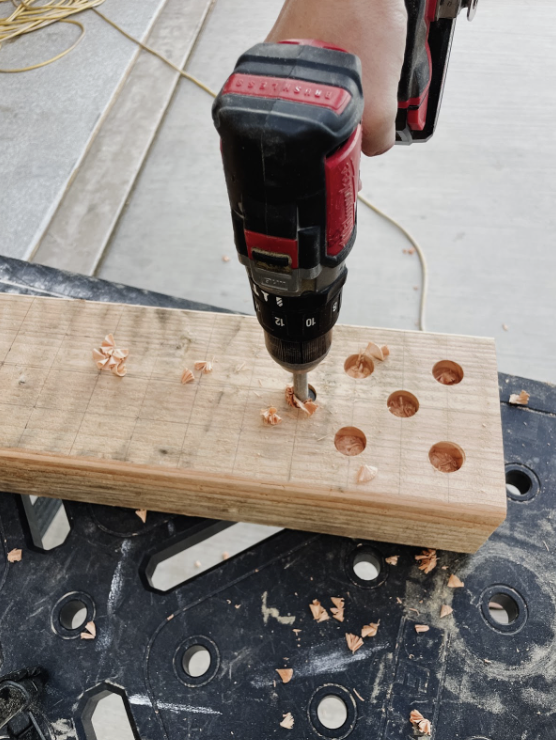
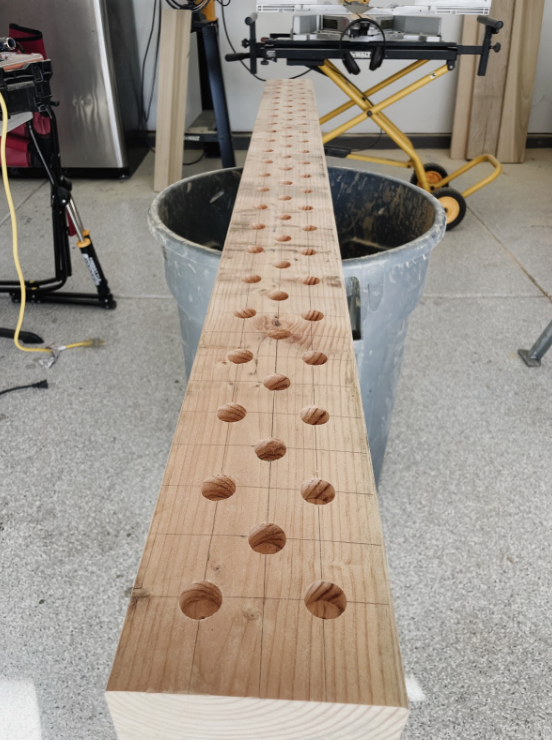
Step 4: Sand your piece of wood down and paint or stain. If you stain the wood, seal it with a polyurethane.
