DIY Projects
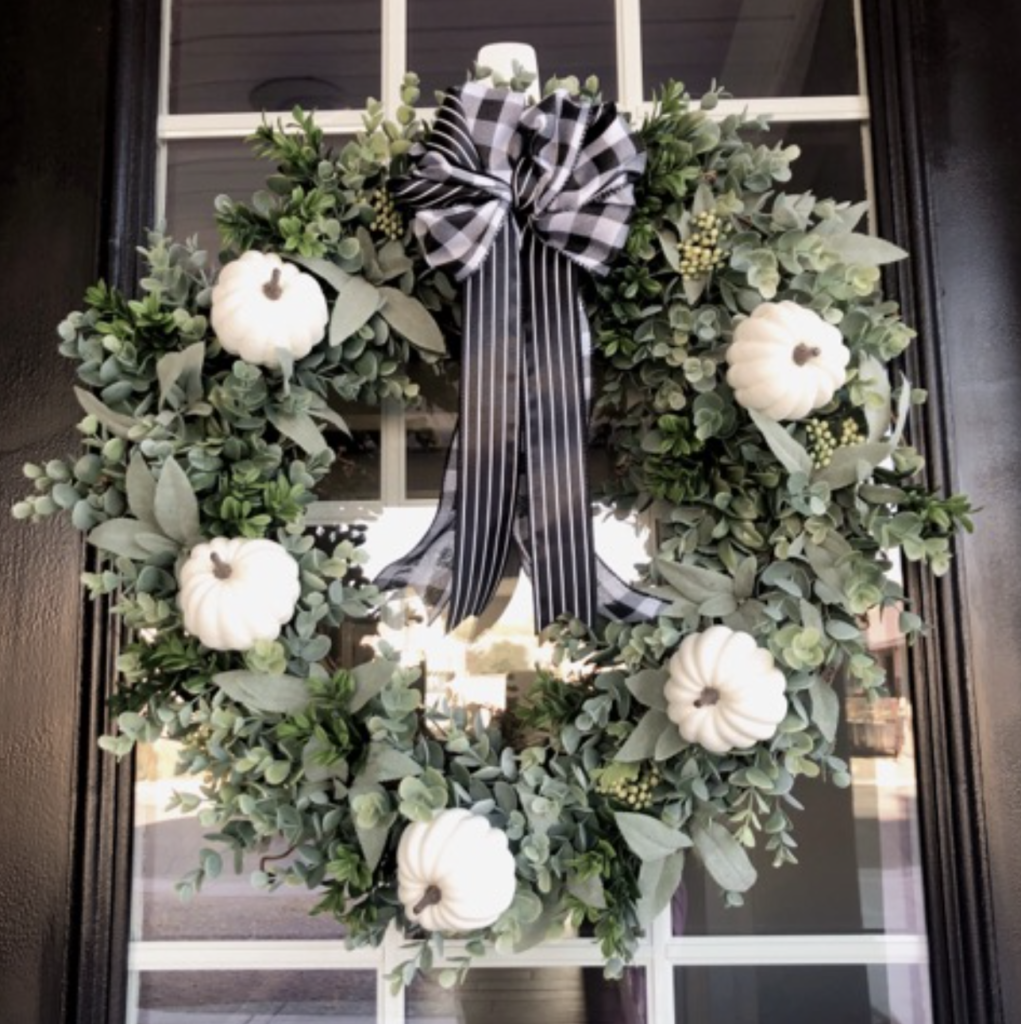
DIY Fall Pumpkin Wreath
One day at a time, One project at a time!


-
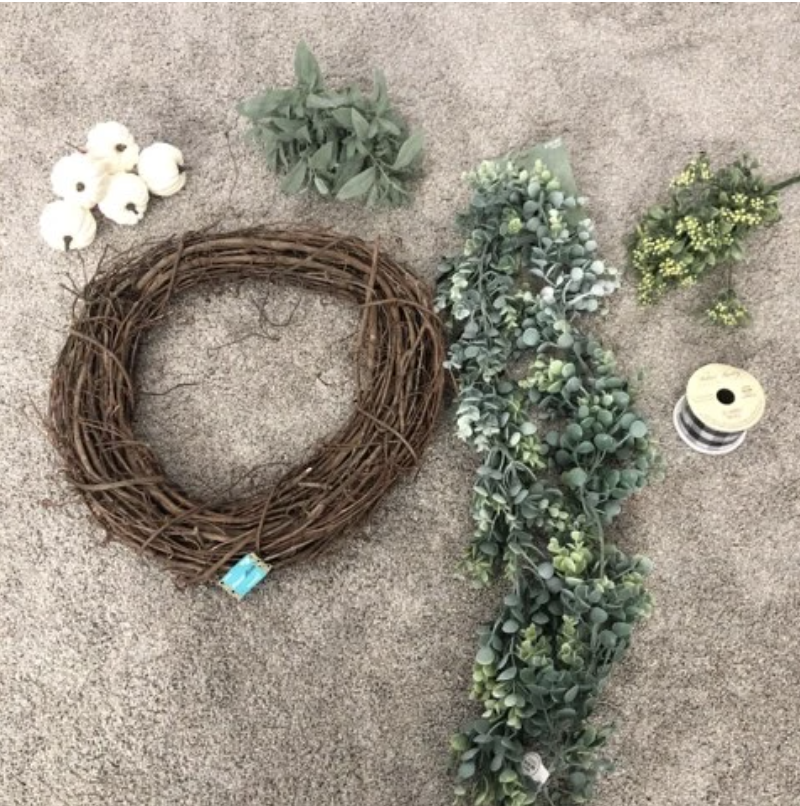
- 18″ Grapevine Wreath (Hobby Lobby)
-
- 6′ Greenery Garland, 2-3 Greenery Picks (I got mine from Hobby Lobby & Michaels)
-
- 2 1/2″ Wired Buffalo Check Ribbon (Hobby Lobby)
-
- 1 1/2″ Accent Ribbon (I got mine from Joann)
-
- Pumpkin Picks (Hobby Lobby)
Tools & Materials:
-
- Hot Glue Gun and lots of Glue Sticks
-
- Floral Wire
- Floral Wire
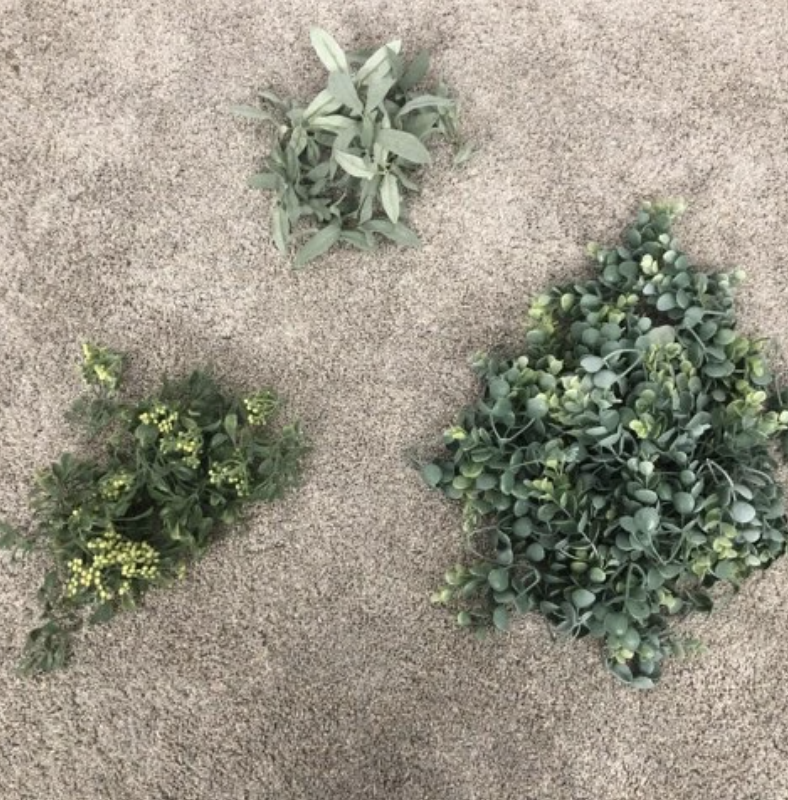
Step 1-Pick all the stems off of your garland and picks.
Step 2-Start with putting your garland pieces on your wreath. Put lots of glue on your tip and place it in your wreath. Be sure to not burn your fingers and be sure to work fast (the glue dries pretty hard)! I used the end of my pick to help stuff my greenery pieces in the wreath. I also made sure my greenery was laying towards one direction (like in the pictures below).

Step 3-Next add all of your greenery “pick” pieces. You’re going to add these into the bare spots on your wreath. You can see what I mean on the upper right photo.

Step 4-This step you’re going to make your bow. I found a great tutorial to follow. Check it out here. Secure your bow on your wreath using the wire.
Step 5-Lastly, add your pumpkins. I bended the wire on these picks a little and added them on my wreath. You can also add some glue on the bottom of the pumpkins for extra security. I added a wire loop on the back of my wreath to hang it easily as well.


