**This is for a 5ft mantle. You can adjust the size to any length you life. Anything bigger than 6ft, be sure to get 8ft board
Tools & Materials:
Wood Filler
Wood Glue
Electric Sander (optional)
120 or 220 grit Sandpaper
Table Saw
Miter Saw
Wood Clamps
Finish Nail Gun
1 1/4 Finish Nails
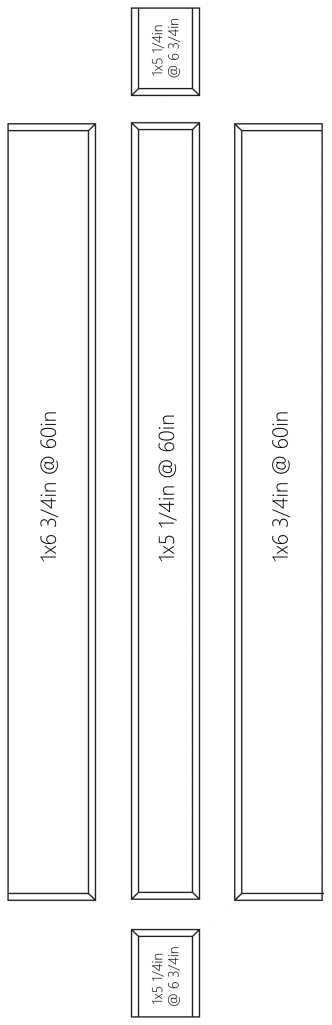
Step 1-Cut your three boards to the desired length you want. I cut mine at 60 inches. I always like to add a couple inches so you have some wiggle room to work with when you cut the sides later. Cut two 8 inch boards with your extras from the 1×6 board (this will be your side pieces)
Step 2-Now set your table saw at a 45 degree angle. Cut one edge on both your 8inx60in boards, both sides (on the same side) on your 8in side boards and both sides (on the same side) on your 6inx60in board. To do this I found the easier way to cut a 45 degree angle is to measure the width of the board and minus 3/4 inch.
Step 3-Now that you have your 45 degree cuts on the length, we need to cut the sides. Set your miter saw to a 45 degree angle. Cut both ends of the three long boards and only one end on the 8in side pieces. All the angle cuts should be on the same side. Refer to diagram below.
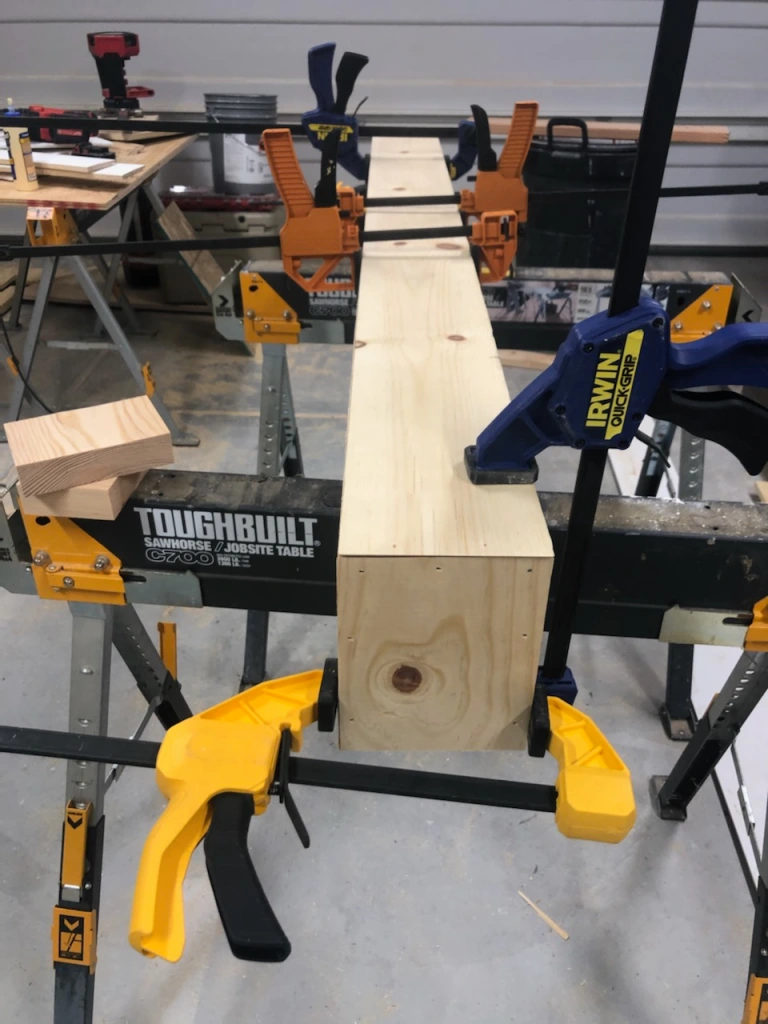
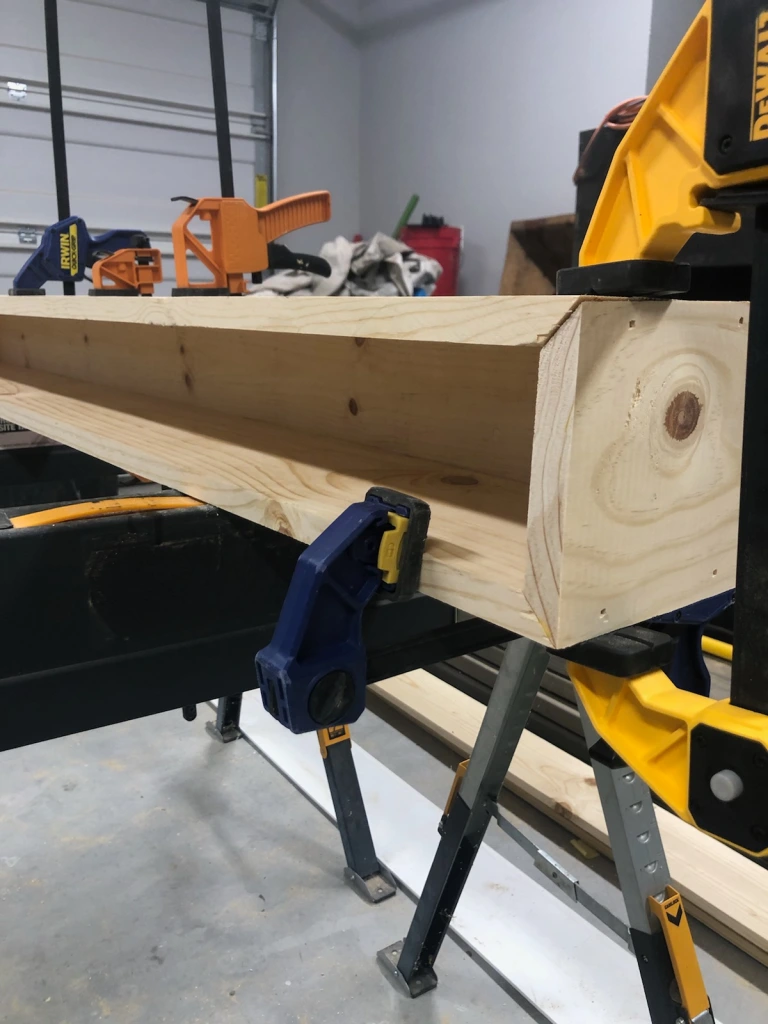
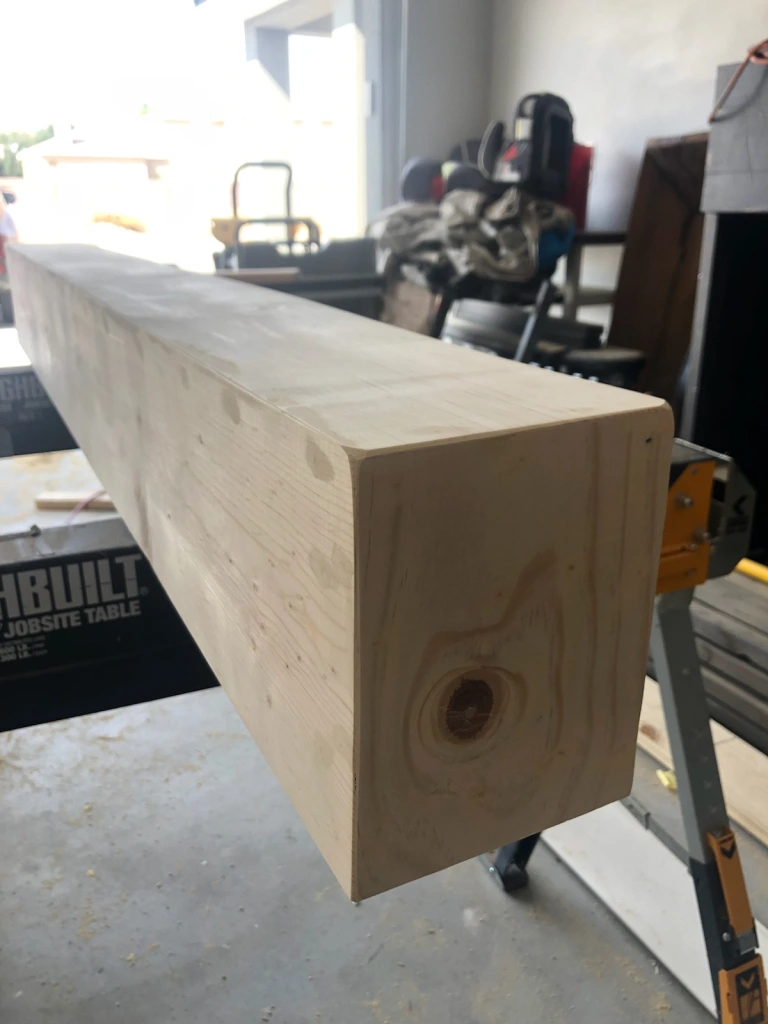
Step 4-Now that everything is cut, let’s glue and nail everything together. The easier way to do this is to set both of your 8inx60in boards up and put some wood scraps on the inside to have something to clamp on. If you don’ have scraps, find someone to use for extra hands to hold. Put the glue on the angle cuts and set your 6inx60in board on top. Try to get it lined up as best as you can and shoot some finish nails from the side boards. Use your wood clamps to help line everything up and to help make sure everything stays in place until the glue dries. When that is done, add glue and nail your smaller side pieces in. Let dry for at least 30 minutes to overnight
Step 5-After everything is completely dry, add wood filler to all the edges (where all the boards meet up). You can also add wood filler to your nail holes if you like as well. Let it dry for at least 30 minutes.
Step 6-Sand your wood and the wood filler parts.
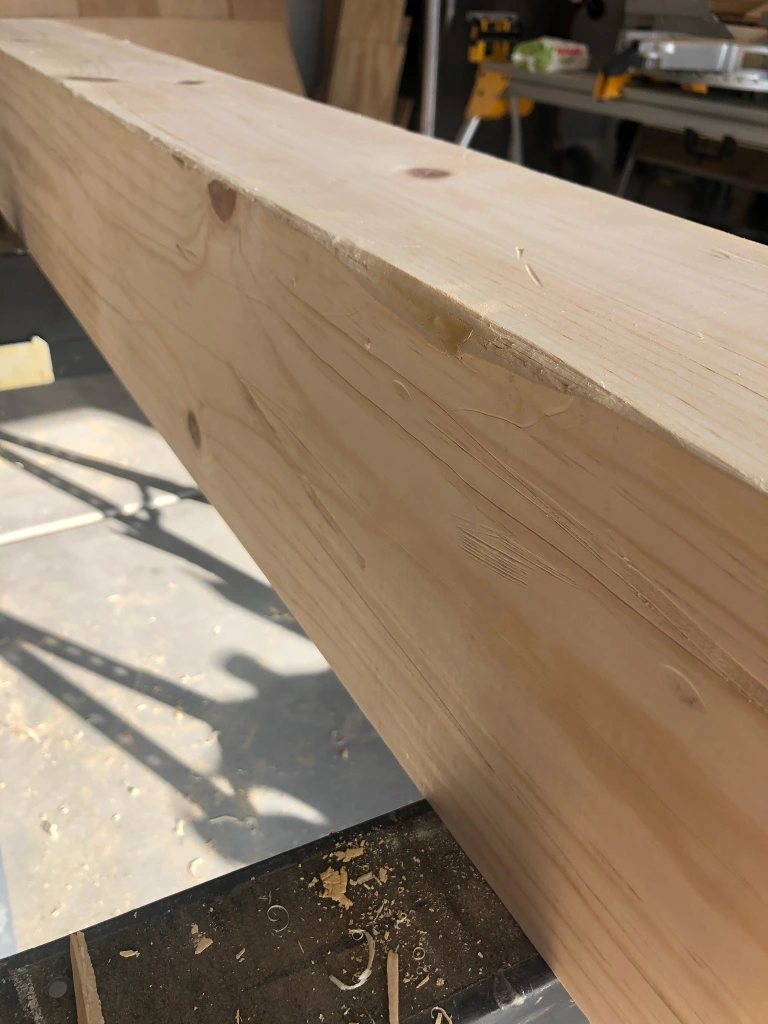
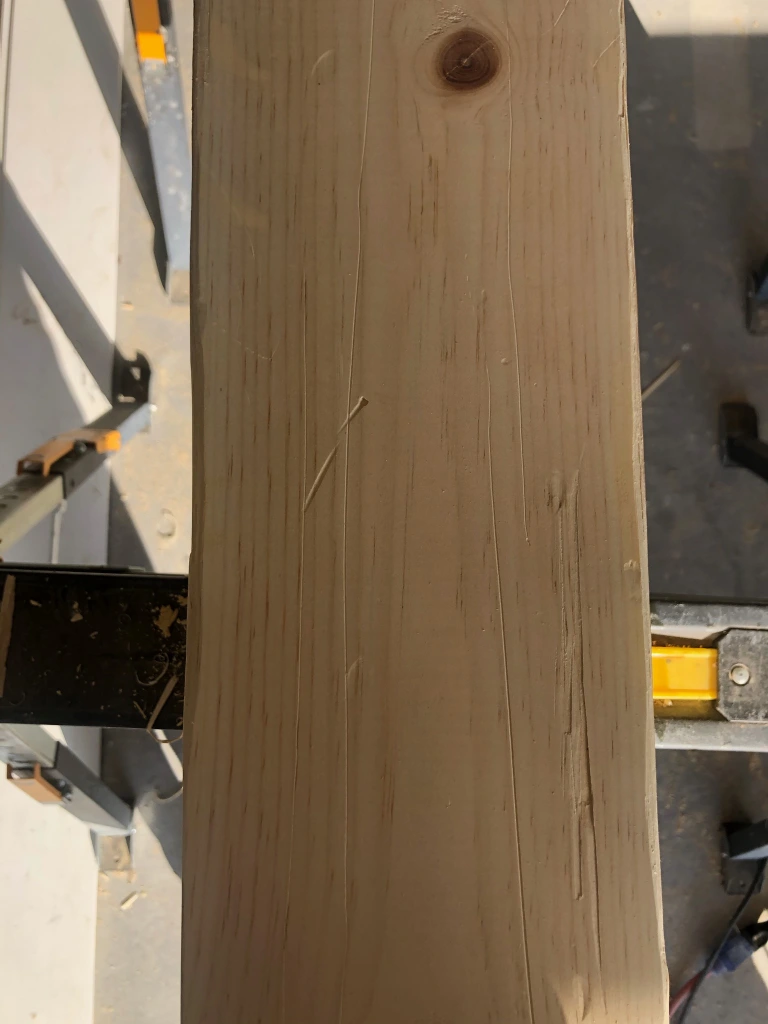
Step 7-Now for the fun part, Your going to want to grab anything you can to help distress and age your mantle. You can use a hammer, screw diver, saw blade, metal chains, nails, scissors, and chisel. It can be anything. Start beating your scratching your mantle with your tools to the desired look your want. They is no right or wrong way to do this. Have fun with it. You can also use a blown torch and burn your mantle just slightly. I found that using a chisel on the edges help if give more of that beam look.
Step 8-Lastly, stain your mantle to your desired color and seal. I used Weathered Stain from Old Barn Living.