Bottle of clear coat spray paint (I used matte finish)
Tools & Material
Jigsaw
Dremel Tool
Surform Shaver
Wire Brush
Exacto Knife
Heat Gun
Paintable Caulk (optional)
Paint Brush
Small Paint Roller
Craft Small Paint Brushes
Hammer
This year I decided my yard needed graveyard realness. I wanted something subtle, classy, and Halloween-y… like a whisper of Nightmare Before Christmas rather than a full-blown Jack Skellington concert.
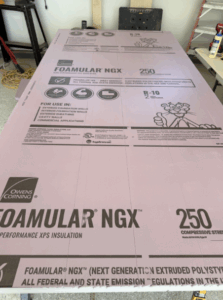
But then I realized: Foam headstones are EXPENSIVE. Like… “$20–$30 for a tiny one at HomeGoods” expensive.
At that rate, I might as well fly to an actual cemetery and rent space.
So instead, I made my own—custom sayings, custom shapes, and a price tag that didn’t make me scream. And honestly? They turned out SO GOOD.
So here’s how to make your very own spooky graveyard without burying your wallet alive. 💀
How to make
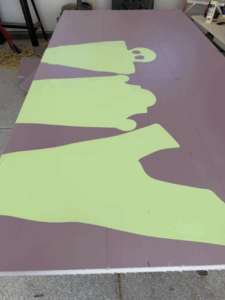
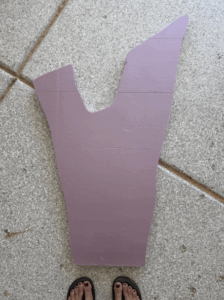
Step 1: Cut Out Your Headstone Shapes
Start with your foam board. You can freehand your shapes or trace them using vinyl decals. I fit six headstones on one board—variety is the spice of spooky life
Step 2: Jigsaw Time
Once your outlines are ready, cut them out with a jigsaw. Yes, it’s loud. Yes, you’ll feel powerful.
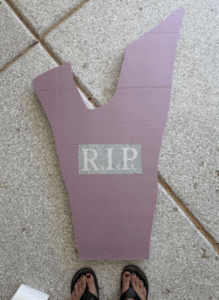
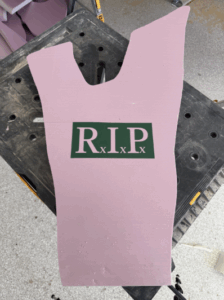
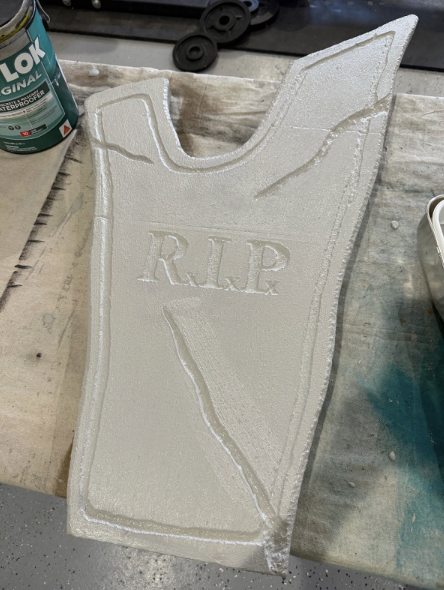
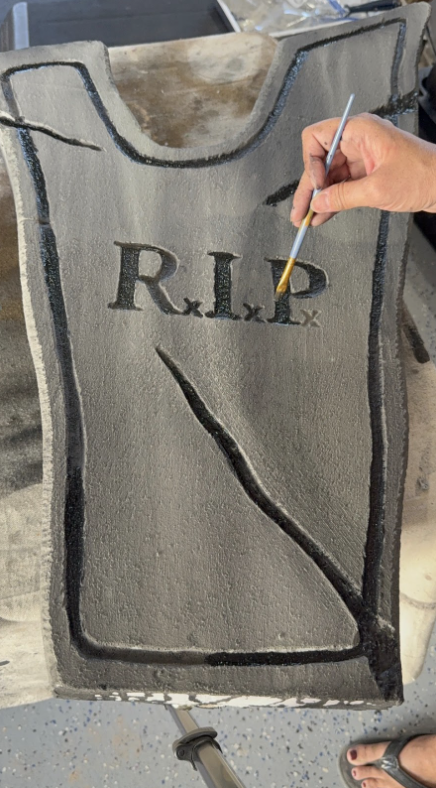
Step 3: Add Letters or Designs
Use decals or hand-draw your sayings. Fill everything in with Sharpie so you can see what you’re doing later.
I recommend funny epitaphs like:
“Here lies my motivation”
“R.I.P. Diet (October–November)”
“Tomb It May Concern”
Your neighbors will both laugh and be slightly concerned.
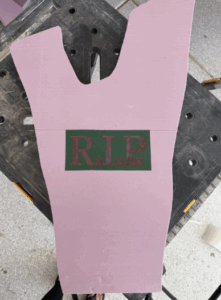
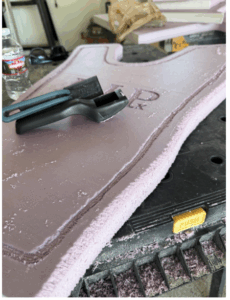
Step 4: Engrave the Lettering
Use a Dremel to deboss the letters so they look carved. It doesn’t need to be perfect—old, cracked headstones are never perfect. Embrace the chaos.
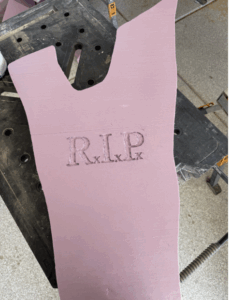
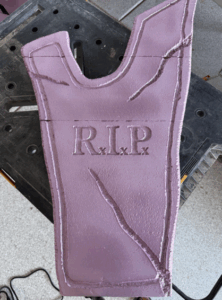
Step 5: Shape the Edges
Use a surform shaver to round the edges and rough things up. Smooth edges are for baby headstones. We want a distressed Victorian cemetery aesthetic.
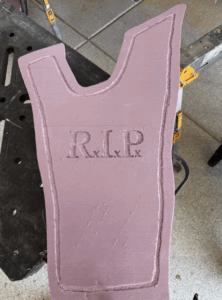
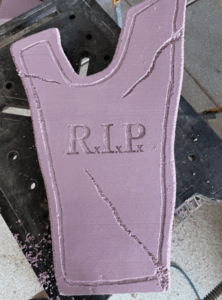
Step 6: Add Cracks (Optional but Highly Dramatic)
If you want your headstone to look extra ancient, carve cracks with an X-Acto knife and remove 1/8–¼ inch of foam.
More cracks = more spooky wisdom.
Step 7: Heat Gun Time (AKA the Most Satisfying Step Ever)
Go over the headstone with a heat gun to give it that aged, “I’ve been dead for 200+ years” texture.
Warning: If you hold the heat too long over the lettering or cracks, they’ll widen like the Grand Canyon. Move fast.
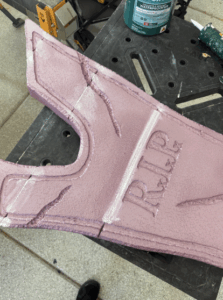
Step 8: Optional Caulking Touch-Up
If anything looks too rough or uneven, now’s the time to caulk and smooth.
Or don’t. Imperfections can be spooky too.
Step 9: Paint With Drylok
Paint the front and sides with Drylok gray masonry waterproofer. It dries surprisingly fast.
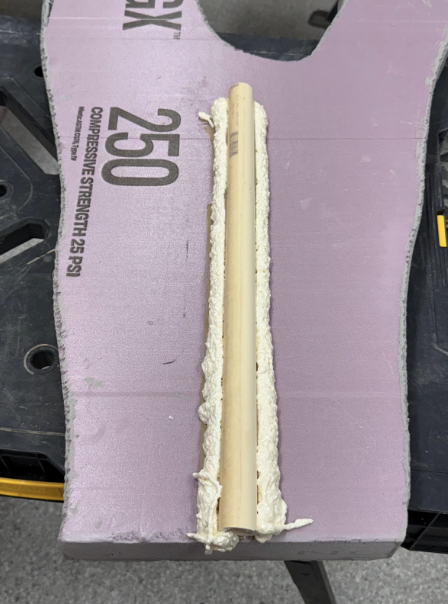
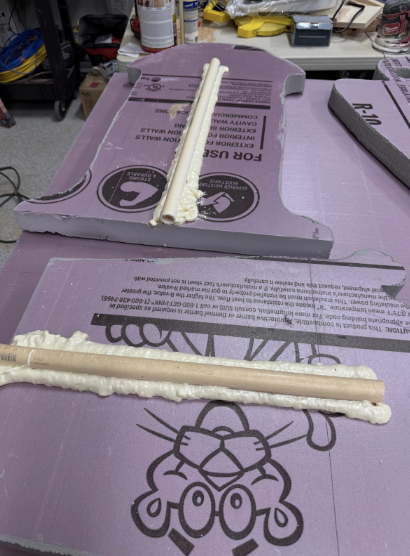
Before painting the back, attach a piece of ¾–1 inch PVC pipe vertically on the back. This is how you’ll stake it in your yard so it doesn’t fall over and embarrass you in front of the neighbors.
Use Liquid Nails + optional expanding foam for reinforcement. Let it dry overnight like a good little zombie.
Step 10: Paint the Back
Once everything is dry, paint the back, pipe, and foam with Drylok.
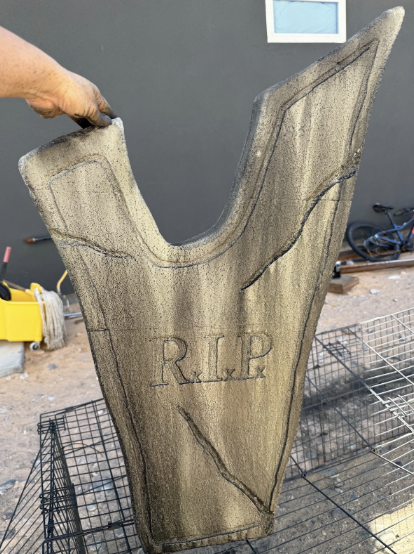
Step 11: Weathering Magic (The Fun Paint Step)
Grab a spray bottle of water and spray bottles filled with diluted paint (I used black, green, and tan).
Spray and let the colors drip naturally—this creates that perfect mossy, aged cemetery look.
No rules here. Go wild. Go spooky. Go “Tim Burton on a Tuesday.”
After everything dries, you can go back and darken the cracks and lettering with black paint for extra drama.
Step 12: Clear Coat Finish
Give the whole headstone a clear coat to weatherproof it.
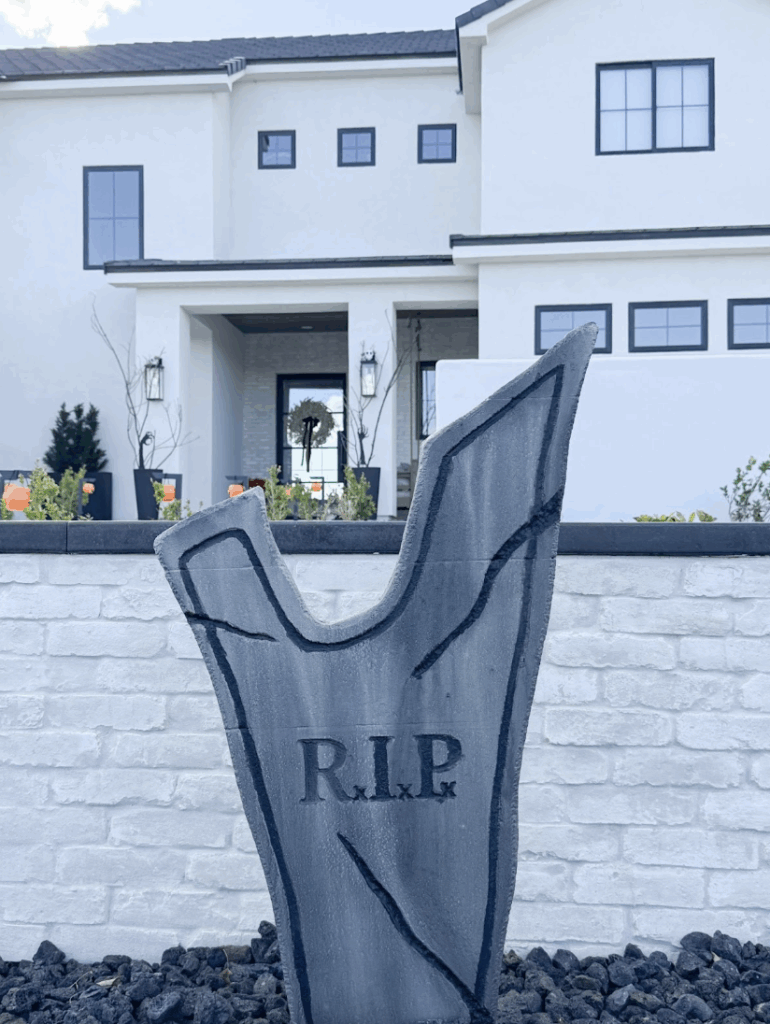
Step 13: Stake It in Your Yard
Hammer a piece of rebar into the ground (6–8 inches taller than the PVC pipe), then slide the headstone on.
Boom. Instant graveyard. Budget-friendly. Windproof. Jack Skellington would be proud.
Final Look
Now you’ve got the Halloween yard of your dreams—creepy, classy, and totally custom. And the best part?
You didn’t spend a million dollars to do it.