DIY Projects
DIY King Size Bed Frame
"One Day At A Time, One Project At A Time."
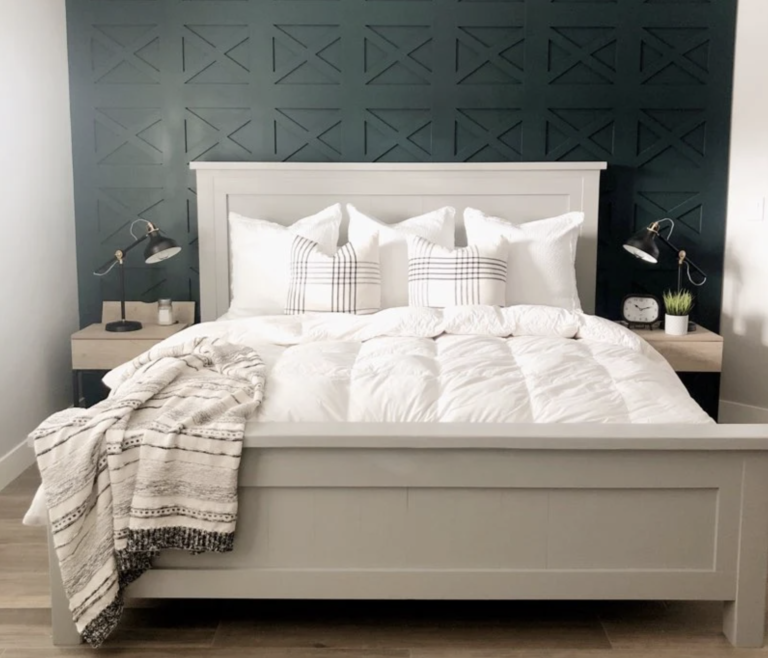
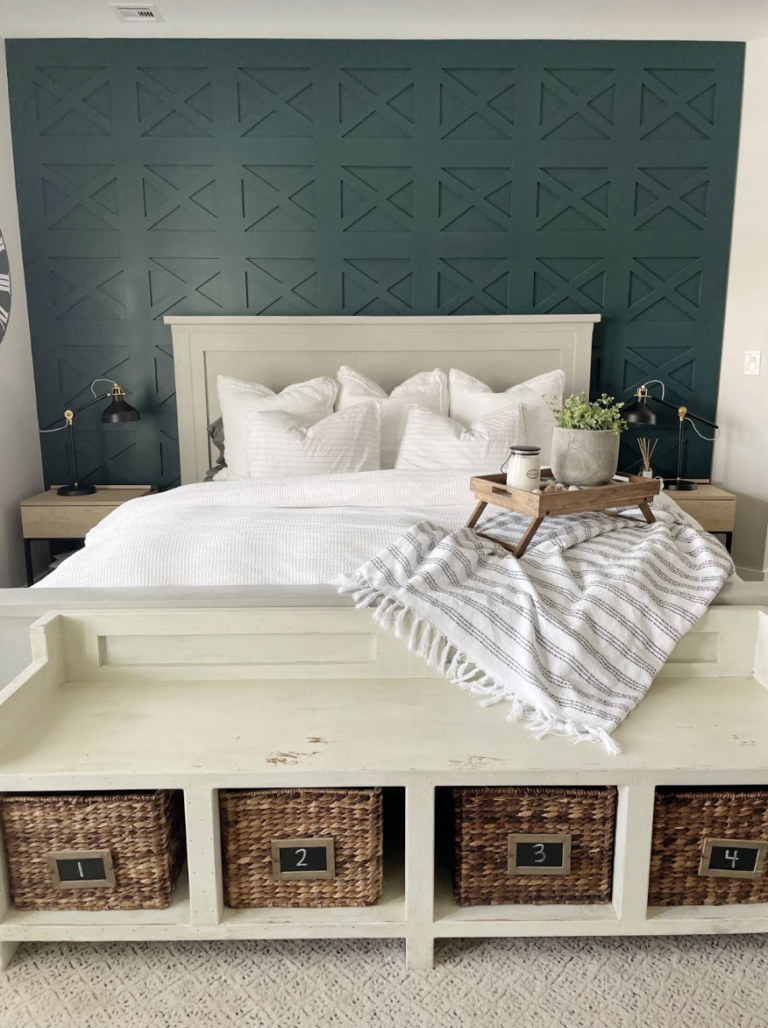
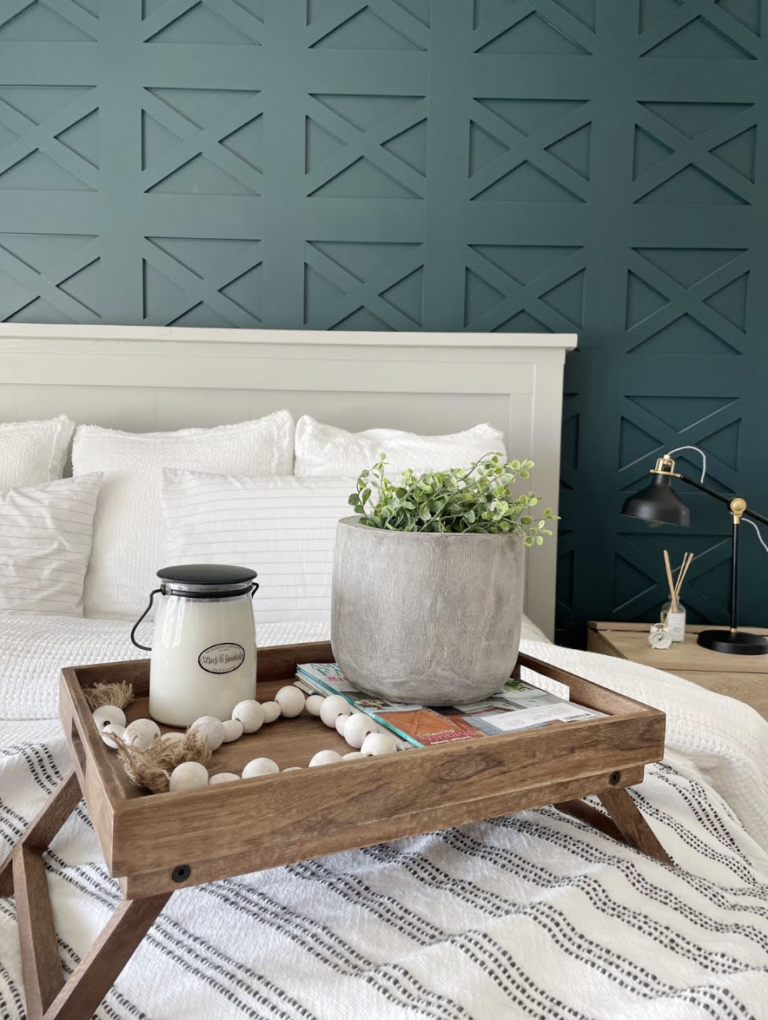
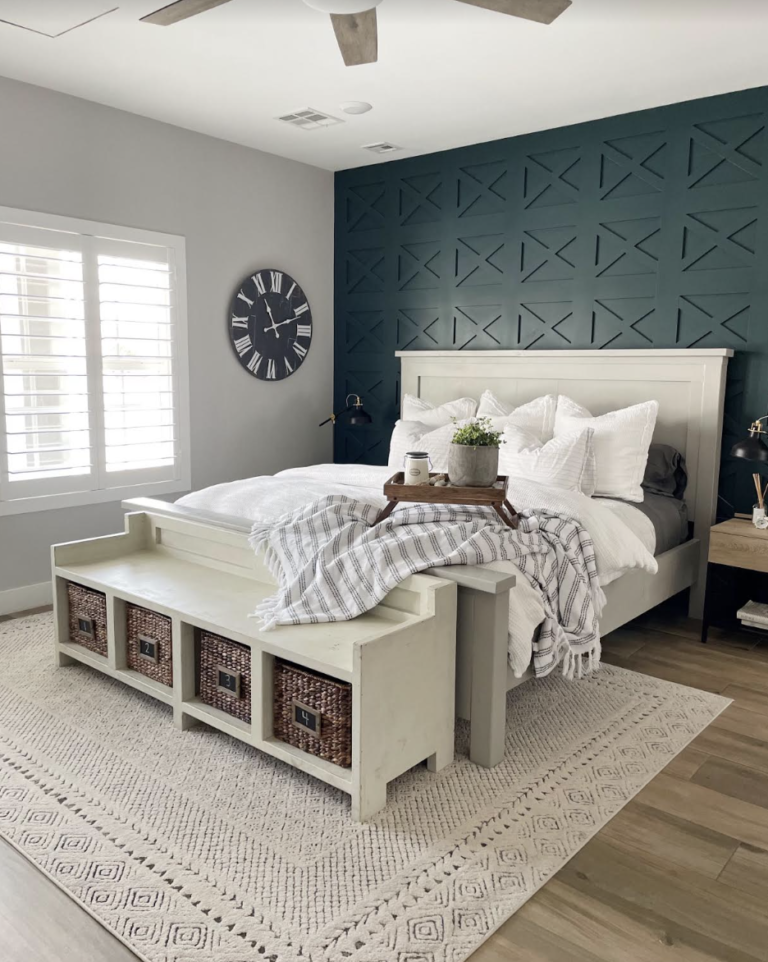
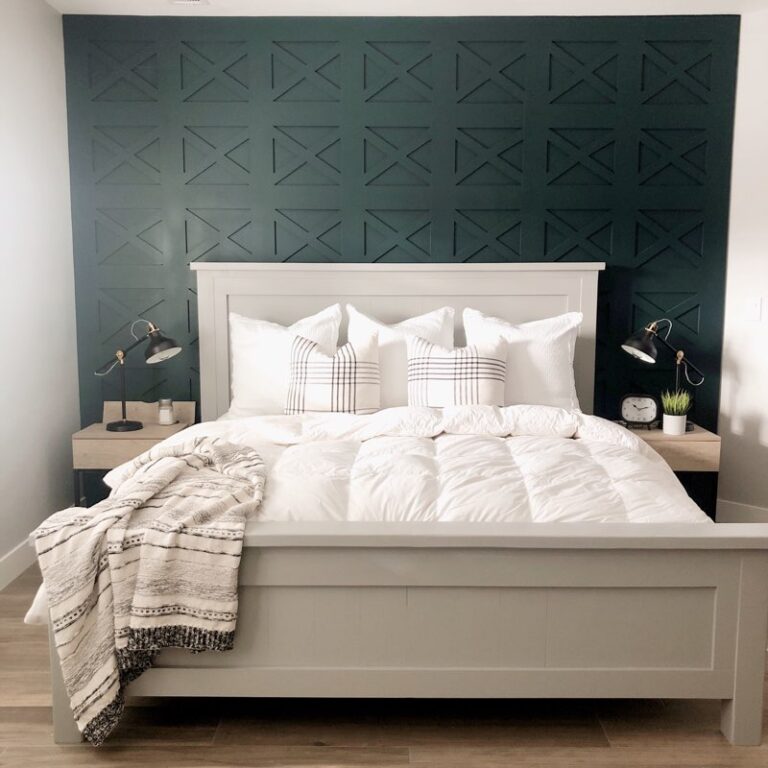
How to: Make a king size bed frame that is neutral yet elegant and goes with any home decor!
Items you'll need:
Headboard
- (2) 4×4 @ 54in-headboard legs
- (2) 2×2 @ 33in-headboard cleats
- (14) 1 x 6 @ 33in-headboard panels
- (1) 1/2in plywood @ 77in x 33in-headboard panel back
- (2) 2×4 @ about 74in-measure and cut to fit
- (1) 1×4 @ about 77in-measure and cut to fit
- (2) 1×3 @ about 33 in-measure and cut to fit
- (1) 2×4 @ about 84in-measure and cut to fit
- (1) 2×6 @ about 86in-measure and cut to fit
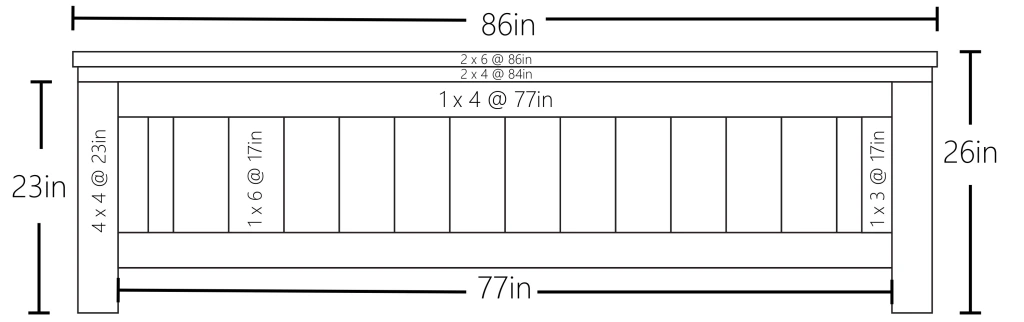
Footboard
- (2) 4×4 @ 23in-footboard legs
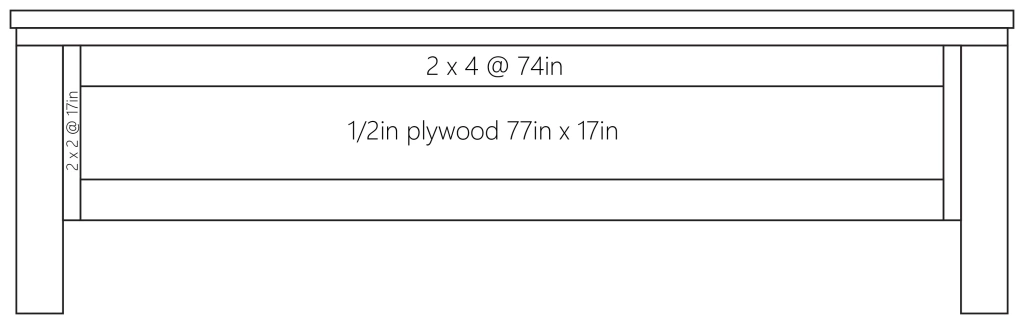
- (2) 2×2 @ 17in-footboard cleats
- (14) 1×6 @ 17in-footboard panels
- (1) 1/2in plywood @ 77in x 17in-footboard panel back
- (2) 2×4 @ about 74in-measure and cut to fit
- (2) 1×4 @ about 77in-measure and cut to fit
- (2) 1×3 @ about 17in-measure and cut to fit
- (1) 2×4 @ about 84in-measure and cut to fit
- (1) 2×6 @ about 86in-measure and cut to fit
Siderails
- (2) 2×10 @ 80in
Tools & Materials
- Wood Filler
- Wood Glue
- Electric Sander (optional)
- Gallon of Paint
- Paint Sprayer (optional)
- 120 or 220 grit Sandpaper
- Table Saw (optional)
- Circular Saw (optional)
- Miter Saw
- Finish Nail Gun
- Drill
- 1in Finish Nails
- 1 1/4in Finish Nails
- 2-1/2in self tapping wood screws (we used SPAX)
- 2 1/2in kreg jig screws
- kreg jig R3 kit and clamp
- **We have an adjustable base in the middle of our frame. But you can easily add slats in between the siderails to support your mattress. Add some cleats(2×4 @ 83in)on the inside of the siderails and cut some about 11 slats (2×4 @ 77in). You can also add center legs for extra support (4×4 cut to your height).
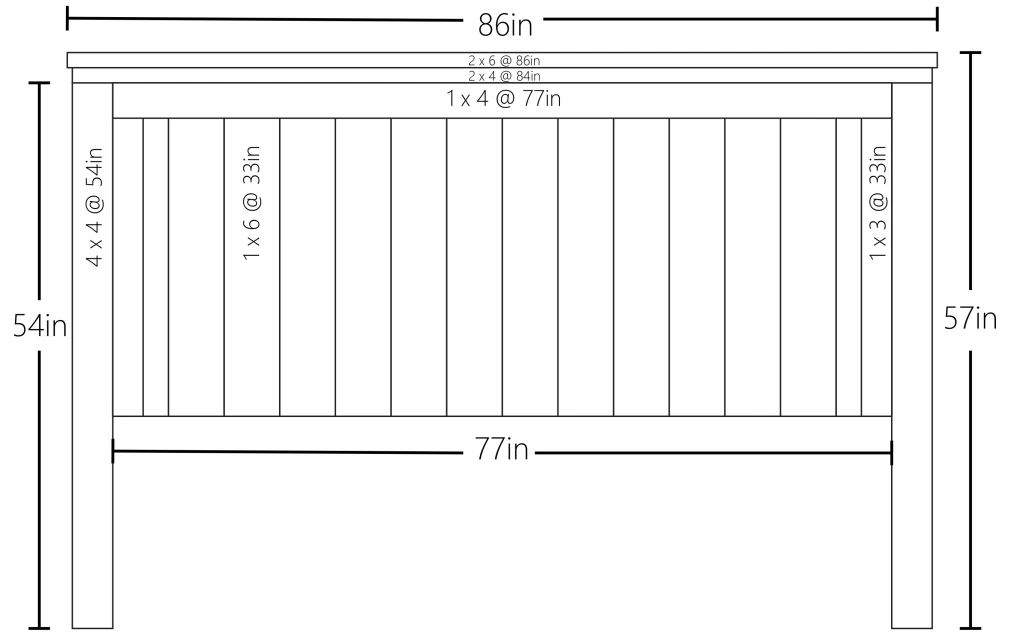
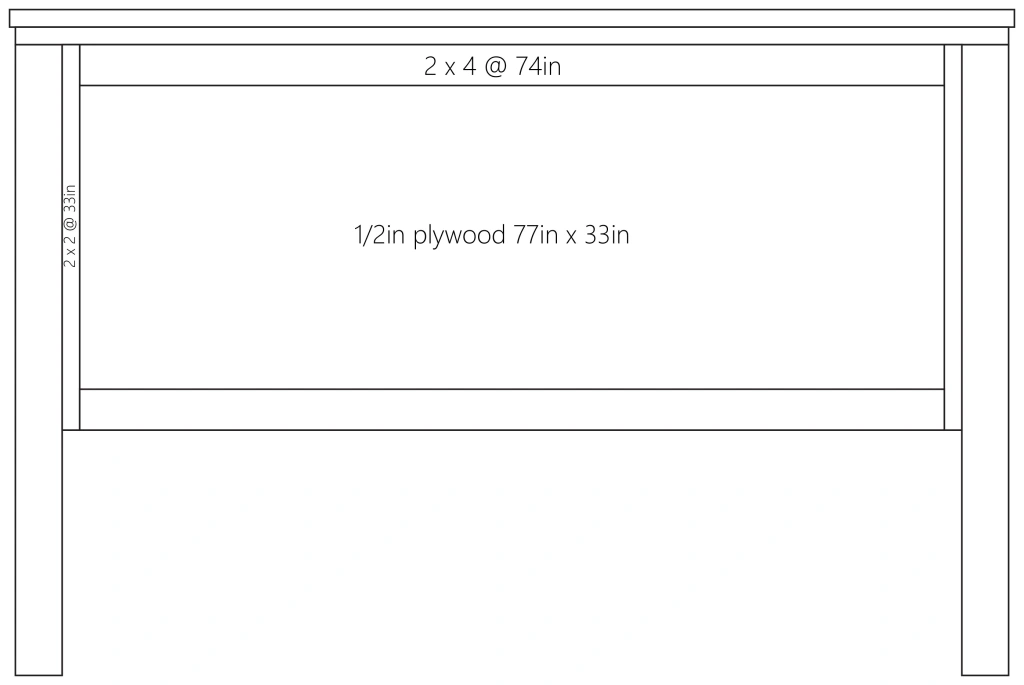
Headboard Step 1-Attach the 1×6 panels on the plywood back using the 1in finish nails.
Headboard Step 2-Attach the cleats flush to the back of the legs with screws.
Headboard Step 3-Attach the panel board on top of the cleats. Screwing from the back of the headboard.
Headboard Step 4-Attach the 1×3 on the sides on the front of the headboard using 1 1/4 inch finish nails. On both ends of the panel.
Headboard Step 5-Screw in the (2) 2x4s on the back to straighten everything up. One on the top and one on the bottom of the panel piece.
Headboard Step 6-Attach the 2×4 on top of the headboard with screws and then the 2 x 6 on top of that with screws.
Headboard Step 7-Lastly, attach the 1 x 4 on top of the panel piece (Right below the 2×4 piece) using 1 1/4in finish nails.
**Be sure to use the wood glue for every piece you nail/screw in together another piece of wood. This helps not only to hold the wood in place better and helps its stay together and keeps your DIY project last longer.
Footboard Step 1-Repeat the same steps as the headboard but using the footboard measurements. All measurement are about half the same as the headboard. Just a much smaller version. When you get the last step, you will have to add the lower 1×4 piece on the bottom of the panel piece.

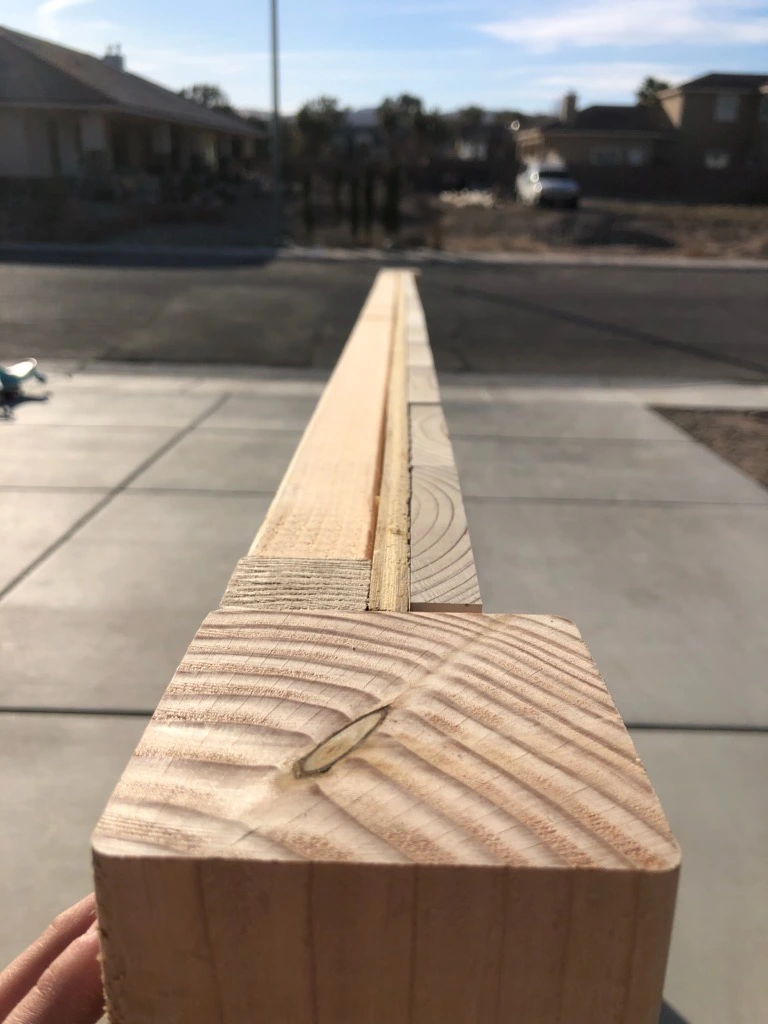
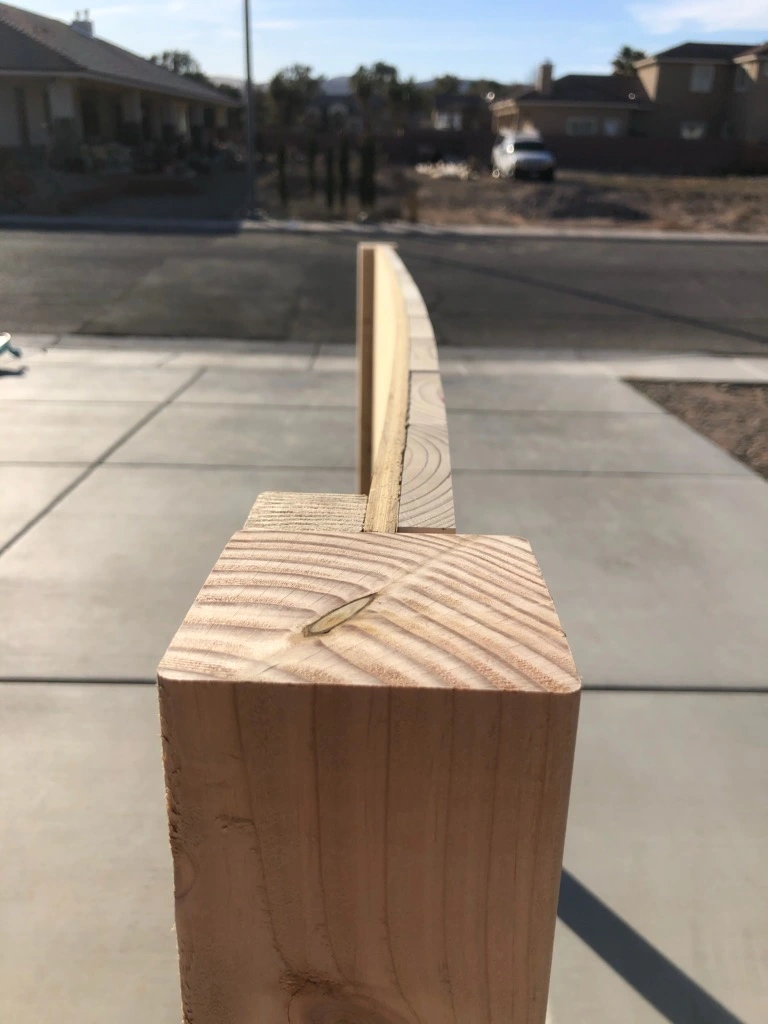
Siderails Step 1-Make 8 pocket holes (set at 1 1/2in on you Kreg Jig) on each of your siderails. On the side that would be on the inside of your bed frame.

Now all your pieces are ready to be put together. First you want to fill all the holes with wood filler. Once that’s done, start sanding away. It goes a lot faster to sand with an electric sander. You can do it by hand but you will be there for hours.
Now time for painting. You can paint when its all put to together but it’s easier to paint each piece individually before, so you can flip each piece around. I used a paint sprayer to mind. I have this paint sprayer. I put about 3 of the lines, on the cup, of paint and put about 1 1/2 lines of water (stir them together). I did it about 3-4 coats on the front side and the 2-3 on the back sides. Let them dry (after your last coat of paint)for at least 2-3 hours before handling.
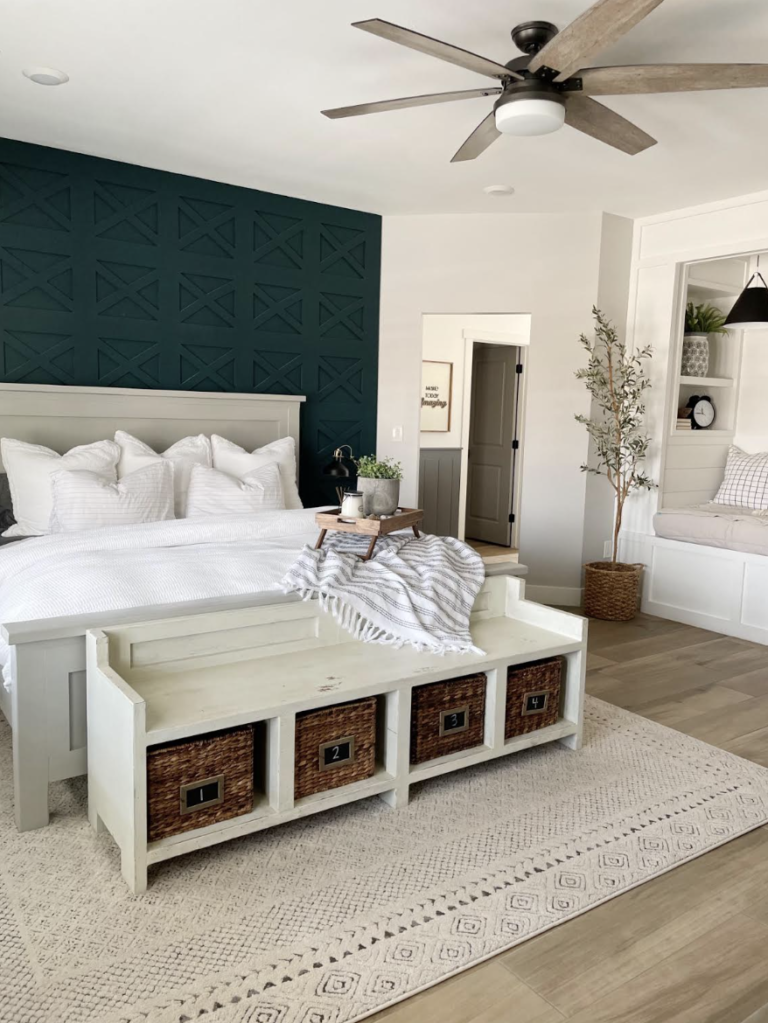
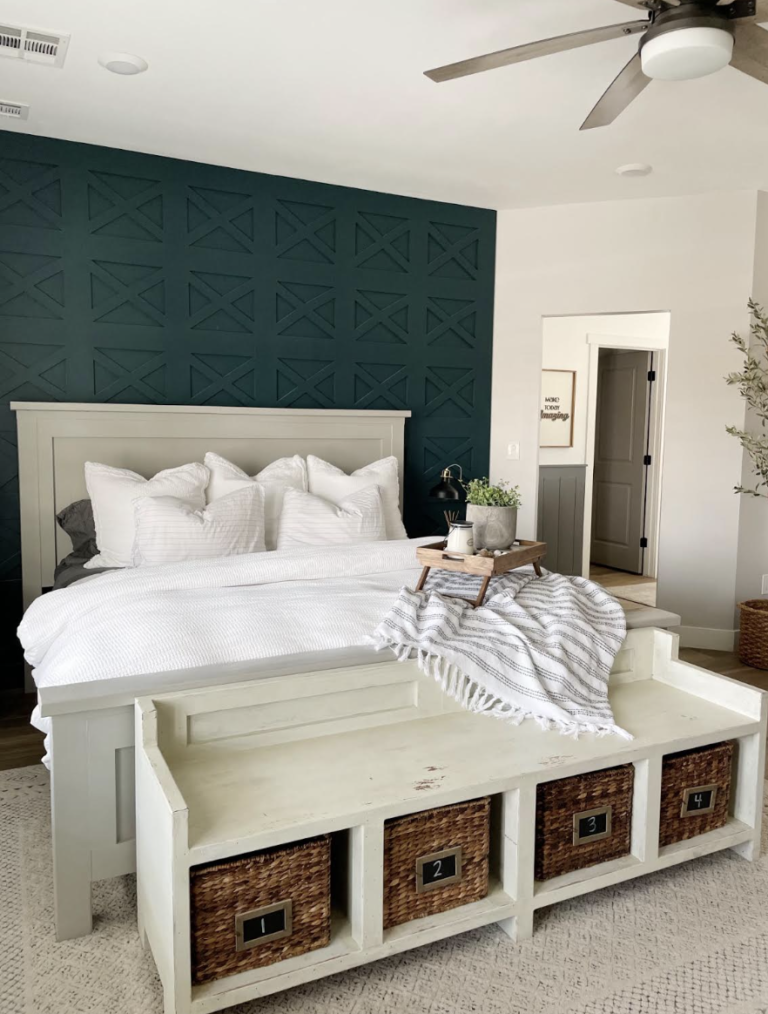
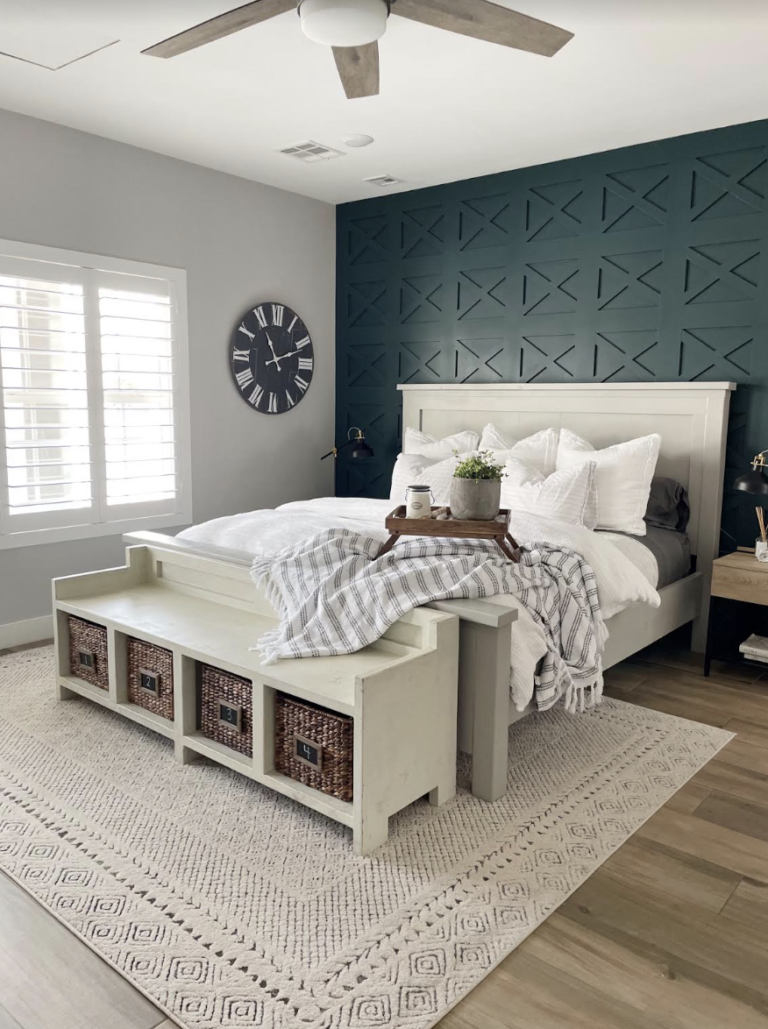
You’re going to need at least two people or this next and finally part. We set the headboard and footboard up first (they should both be able to stand by themselves because of the 4×4 legs). Next hold (one person one end at a time) the siderail to whatever height you would like them at. We raised ours about 8 inches off the floor. I would recommend anywhere between 5-8 inches off the floor. Attach the siderail using your kreg jig 2 1/2in screws. Then repeat for the other ends of each siderail.
Your bed frame is all done. Now you can can move your adjustable base and mattress inside or you can add you slats inside of the frame to support your mattress.