I was able to add some finishing touches in one of my son’s room recently. After finishing his built-ins and accent trim molding on his wall, I knew I wanted to do one more decorative accent in his room.
My son is considered the Lego master in our family. He is all about Legos. I built the shelves for his built-ins specifically for his built Legos. I wanted to add a decorative Lego accent wall. I didn’t want anything too crazy since he’s got a lot going on in his room already but something that would bring out his personality.
Supplies & Step by Step
Items you will need
Items you’ll need:
(1) 4ftx8ft Sheet of MDF at 1/4 or 1/2 inch thickness
Tools & Materials:
Measuring Tape
Electric Sander (optional)
220 girl Sandpaper
Miter Saw
Table Saw
Drill
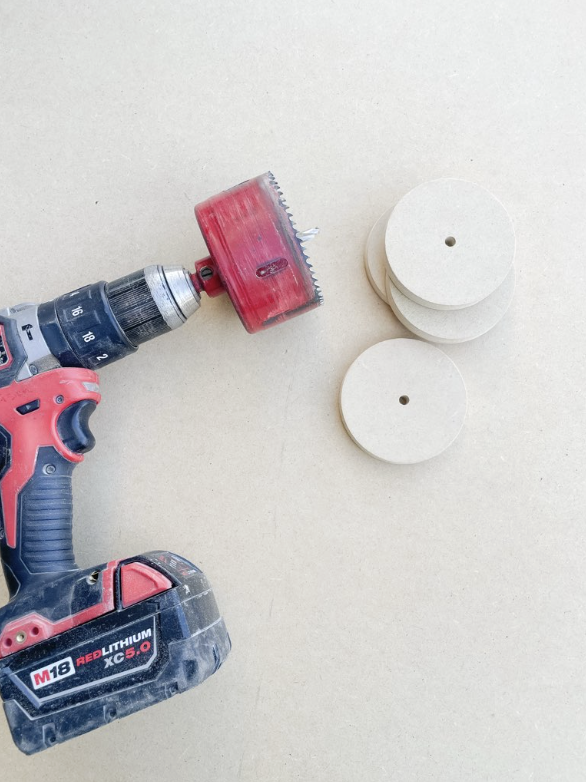
3 1/2 Hole Saw (or you can buy the wood circles)
Wood Glue
Wood Filler
Caulk
Pin Nailer
3/4 inch Pin Nails
These are actually pretty easy and simple to make. If you have a Lego person in your family, they would probably love these.
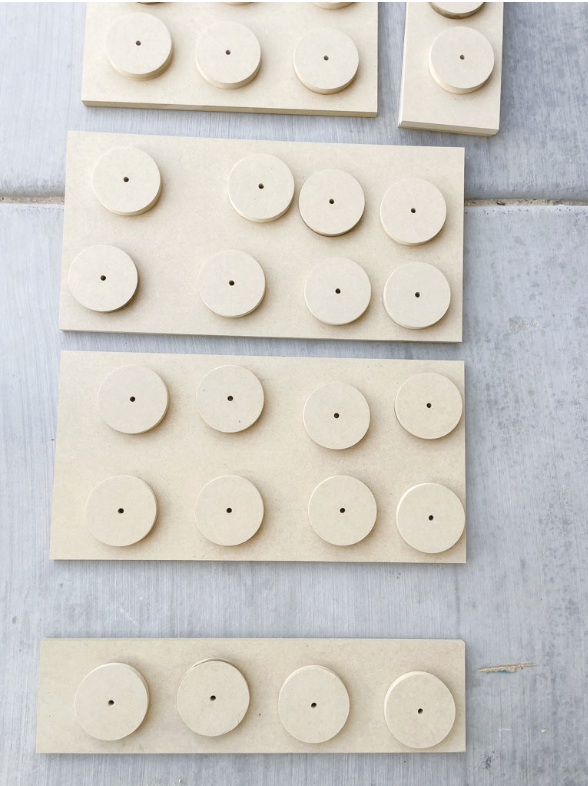
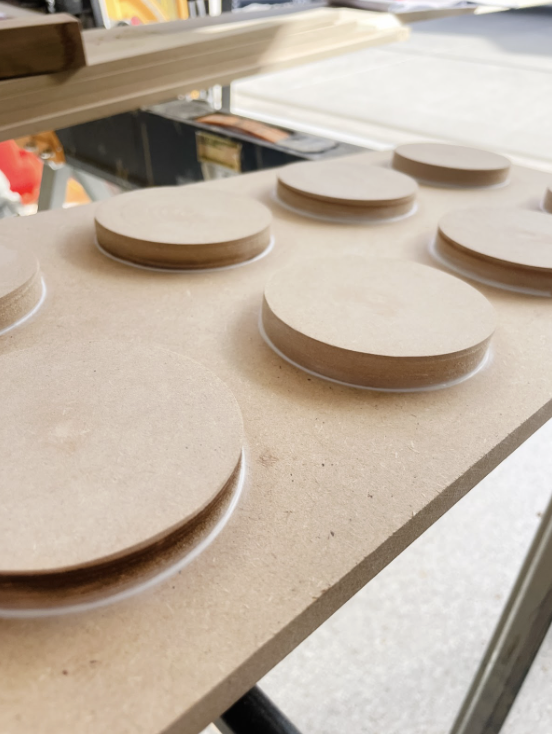
Step 1: You want to cut your “Lego” blocks to whatever size you like. I figured about 5 inches per circle. So I ended up cutting:
(6) 5×10 inches
(2) 5×20 inches
(4) 10×10 inches
(3) 10×15 inches
(2) 10×20 inches
(4) 10×15 inches “L shaped”
In total, I made 21 blocks. You just made a bunch of different random shapes and sizes. No rhyme or reason to any of the shapes or sizes. You can do whatever you want in this. If you want to do all squares then do it. I wanted different shapes and sizes to give some originally to the accent wall.
Office Space
Step 2:
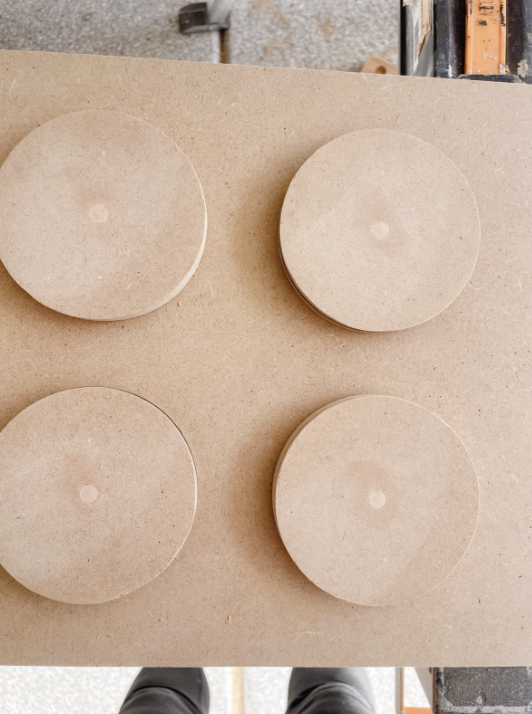
Step 2: Once you have all your “blocks” cut, you can now figure out how many circles you’ll need. I used a 3 1/2 inch hole saw to cut with some of the extra MDF I had. I ended up cutting about 86 circles.
Optional: if you want to avoid using a hole saw and want a cleaner look, you can buy precut wood circles or if you have a laser cutter, you can cut the circle with that. You can also use a band, scroll or jigsaw to avoid the holes in the middle, but that would have taken me days to cut haha.
Step 3:
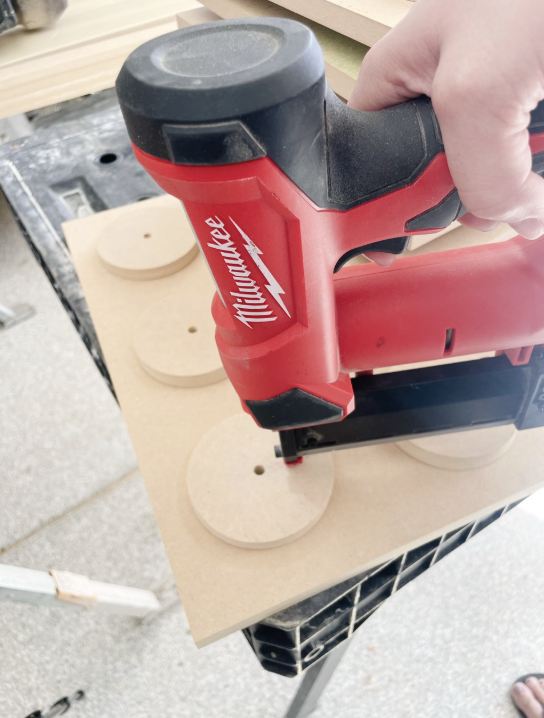
Step 3: Now that you have your blocks and circle cut, you can start putting everything together. I just eyeballed where to set the circles. You want to wood glue each piece and I use a pin nailer to help keep in place. You don’t have to use a pin nailer. This just helps keep the wood circle from sliding everywhere when you put the glue on.
Step 4:
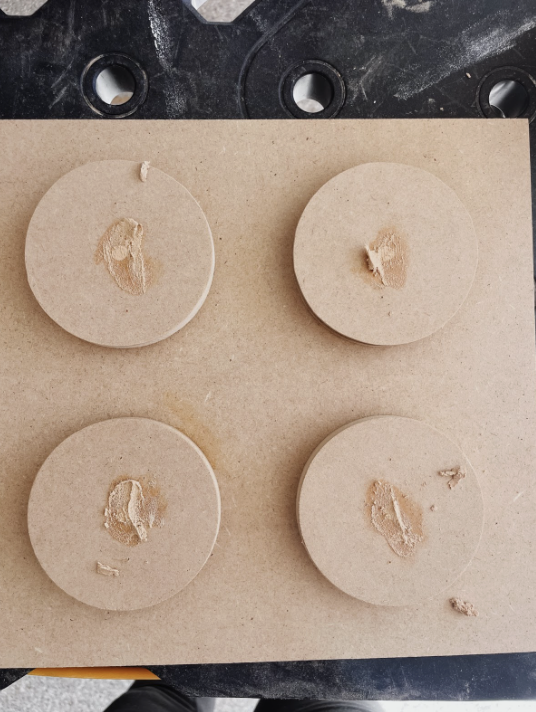
Step 4: Once you set the circle on with the glue, you can fill the holes with wood filler. When the wood filler dries, you can sand them down.
Step 5:
Step 5: You want to caulk all the edges of the circle on the Lego blocks. This will help give the Legos a finishing look.
Step 6:
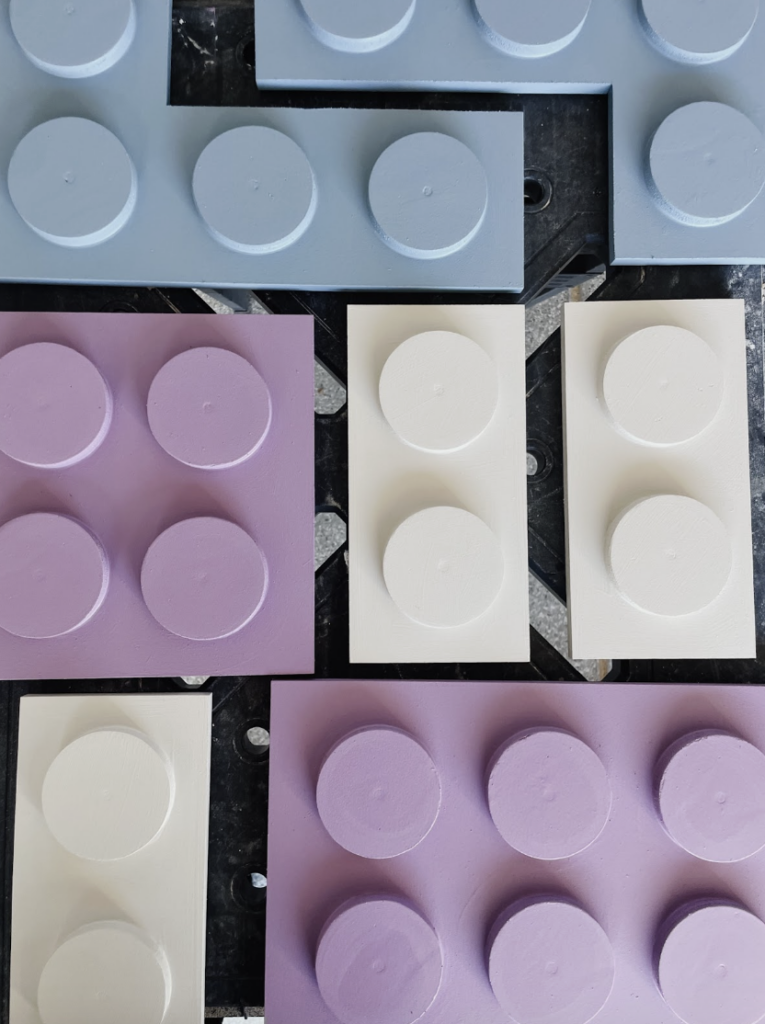
Step 6: Once the caulk is dried, you can start painting the Legos whatever color(s) you desire. My son loves the color purple and blue and this is where I wanted to bring in some color into his room. I ended up picking the colors: Sherwin Williams Radical Lilac, Poolhouse and Accessible Beige. I wanted more of a softer look and not so bright or bold, mostly because all the black in his room is a pretty bold statement color.
I also let my son help me decide what Legos to paint what color. He did a great job on picking them out. This is a great time to involve your child in their room.
Step 7: Hanging them up on the wall. I tried to see if I can hang them with command strips and maybe the strips are too old and small but it didn’t work for me. So I just shot a few pin nails into the wall to keep them up on the wall. I didn’t want anything too big or noticeable, especially if I ever decide to take them off the wall and have a million holes to patch.
Step 7:
Step 7: Hanging them up on the wall. I tried to see if I can hang them with command strips and maybe the strips are too old and small but it didn’t work for me. So I just shot a few pin nails into the wall to keep them up on the wall. I didn’t want anything too big or noticeable, especially if I ever decide to take them off the wall and have a million holes to patch.
I also let my son help me decide what Legos to paint what color. He did a great job on picking them out. This is a great time to involve your child in their room.
Step 7: Hanging them up on the wall. I tried to see if I can hang them with command strips and maybe the strips are too old and small but it didn’t work for me. So I just shot a few pin nails into the wall to keep them up on the wall. I didn’t want anything too big or noticeable, especially if I ever decide to take them off the wall and have a million holes to patch.