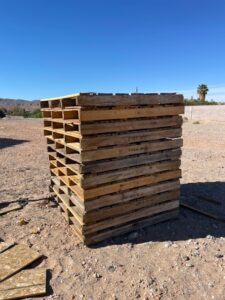
I had no idea I was going to do this project. I had all these left over wooden pallets from our roof tile for the house. Besides just burning the pallets, I tried to figure out what to do with them. Of course I turned to Pinterest, trying to get some ideas. I came across a Christmas tree that someone made with their pallets.
Luckily, Christmas was coming up and I thought this would be a great opportunity to make some and test it out. So here’s how I made these Christmas tree pallets.
Items you’ll need:
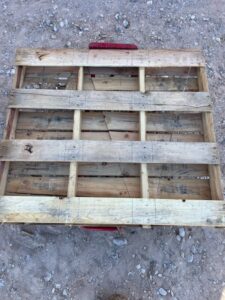
Wooden Pallet
Paint or Stain
Tools & Materials:
Level or Straight Edge
Black Marker or Pencil
Circular Saw or Jigsaw
Hammer
Framing Nail gun or Finish Nail Gun
Step by Step
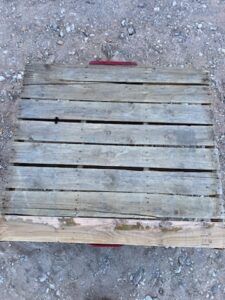
Step 1:
Mark your lines on the front of the pallet with your level or straight edge item. Marking the lines to look like a triangle. Use the middle stud as your truck for the tree.
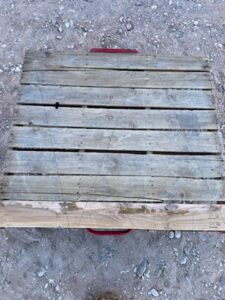
Step 2:
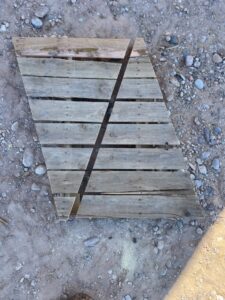
Cut your lines with a circular saw or jigsaw.
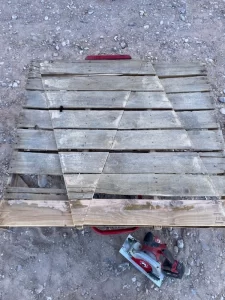
Step 3:
Carefully flip over the pallet and cut the extra pieces off.
Step 4 & 5:
Step 4-Remove the pieces on the back of the tree with a hammer. If the nails are not coming out very easily, you can always just hammer the nails into the middle stud. Just make sure they are not sticking out.
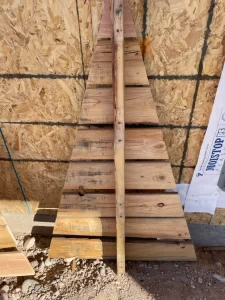
Step 5-Add a piece of 2×4 from the pallet that you cut off to the bottom of the tree to help support it, so it won’t fall forwards or backwards. I used a piece about 15-24 inches.
Step 6:
Paint or stain your tree to whatever color you want. You can fully paint the tree or lightly painting it, to give it that old chippy wore look.