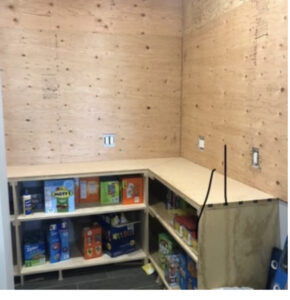


Step 1-Build your lower cabinets. We wrapped ours all the way around (in a U-shape) in the pantry. Our cabinets are 35 inches tall (that includes the trim and excludes the counter) and 20 inches deep on two walls and 23 inches deep on another wall (we put a beverage cooler under that side). You want to box everything out and then trim last. We didn’t put any wood on the back wall. But you can if you like. Be sure to use wood glue.
Step 2-You will need to put on your MDF wood on first then you can glue the solid hardwood on top (DIY butcher block counter). Lastly, trim again.
Step 3-Sheet the wall with OSB where the shiplap in going using 2in screws into the studs of the walls. This will help sturdy the shiplap and help with shooting the finish nails into rather then tiring to hit every stud. It doesn’t need to be perfect, it will be covered up.Be sure to remove any outlet covers (Turn power off for those outlets) and cut your OSB around the receptacle (cut to where the drywall ends).

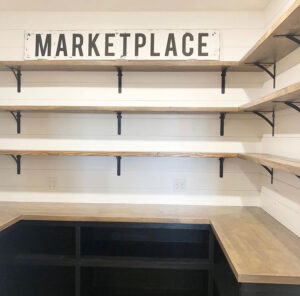
Step 4-To install the shiplap, use 1 1/4in finish nails. It’s easier to start from the bottom and work your why up to the ceiling. Be sure to rip your first and last piece of shiplap because you want it to butt up (flat edge) against the counter and the ceiling. Use your level and make sure your shiplap stays straight and level.
Step 5-Punch any nails that need to be hammered in more. Fill all the nail and screw holes with wood filler. Let dry. Sand holes lightly.
Step 6-Caulk the ceiling and sides. Caulk lower cabinets. It’s very time consuming but this step is very important. It covered up all your flaws and mistakes. It gives your project a professional look rather than that DIY look.
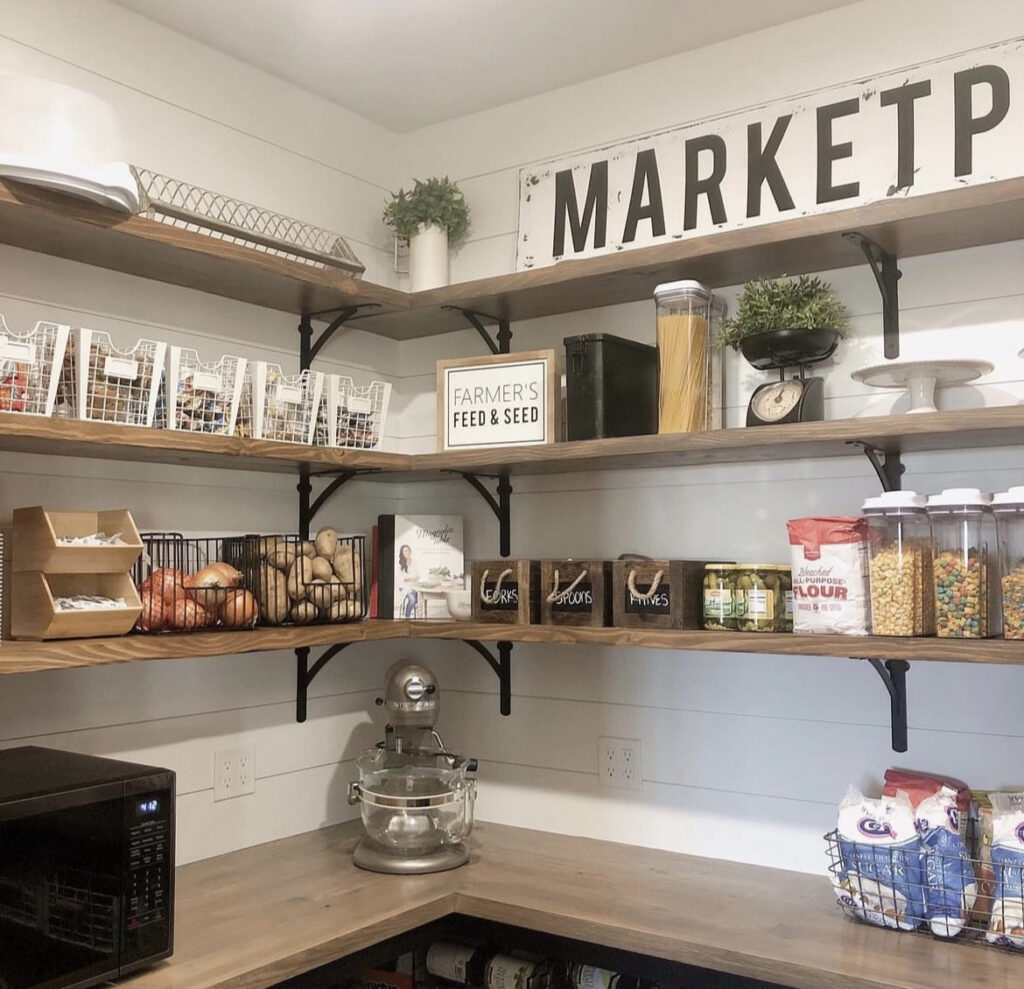
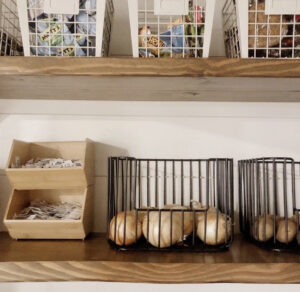
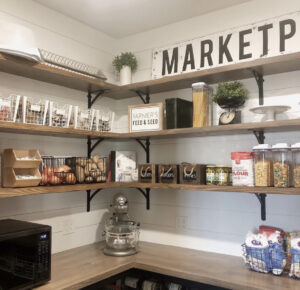
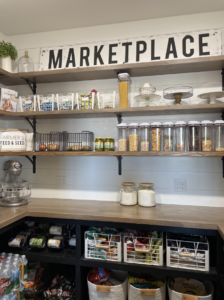
Step 7-Place brackets on you walls. Level is required for this part. You want your shelves flat and not leaning at all. You can space your shelves out as much of as little. Below is my measurements.

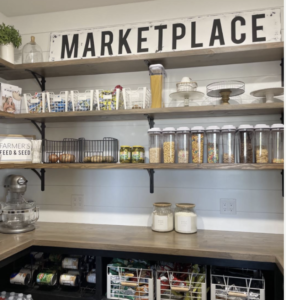
Step 8-Paint your cabinets and shiplap. You can also do this before you put the brackets on.
Step 9-Stain your counter top and shelves and seal. Let cure for at least 24 hours before using lightly.
Step 10-Place shelves in and screw into brackets.