DIY Projects

DIY Square Accent Wall

"One Day At A Time, One Project At A Time."

Square Accent Wall

How to: Make an Accent Wall with X's

Items you’ll need:

  • 1/2in 4ft x 8ft Medium Density Fiberboard (MDF)

Tools & Materials

  • Wood Filler
  • Wood Glue
  • 2in Finish Nails/Screws
  • 1 1/4in Finish Nails
  • 220 grit Sandpaper
  • Painters White Caulk
  • Table Saw
  • Miter Saw
  • Finish Nail Gun
  • Hammer
  • Nail Punch
  • Level
  • Screwdriver & Jigsaw (for outlets if you have any)

***MDF is the best “wood” to use for any accent/board & batten wall. It’s cheap, affordable and gives that smooth finish without any wood grains.

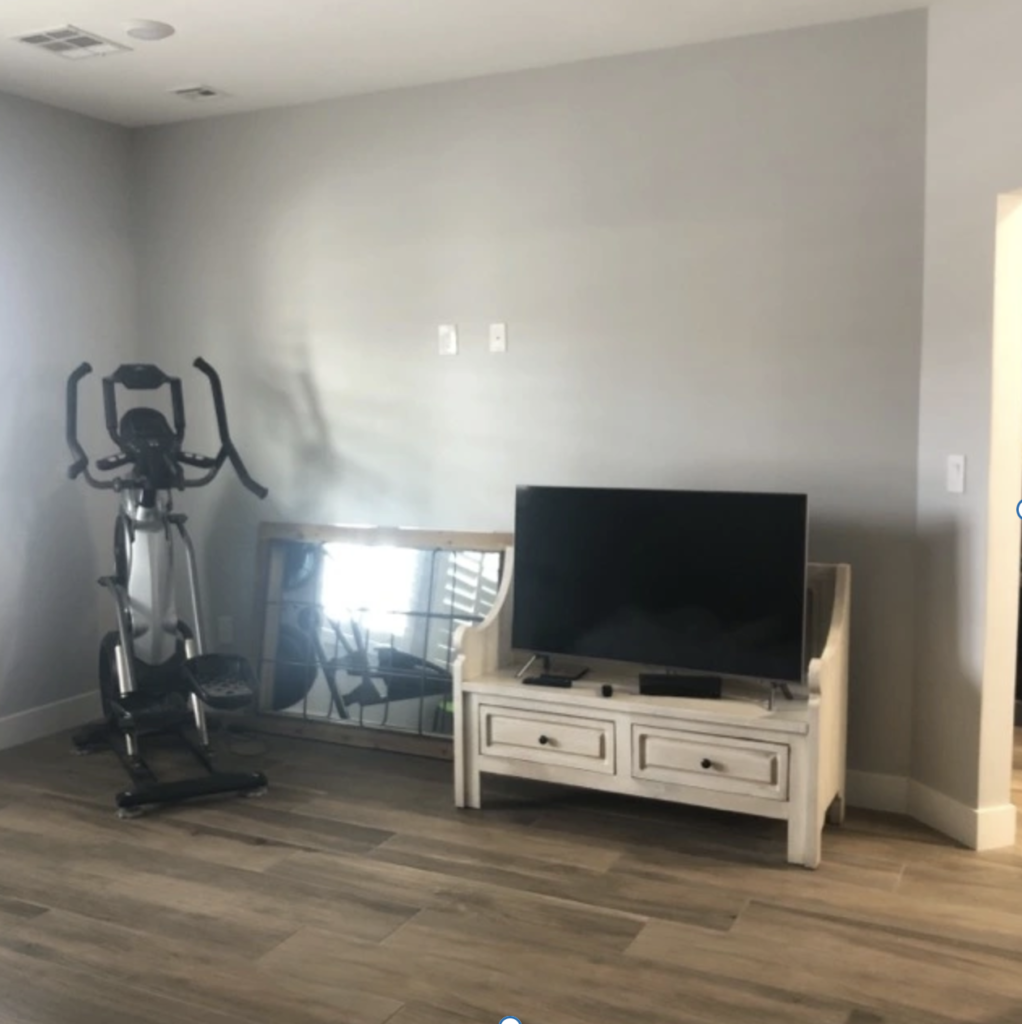
Step 1-Take out the baseboard. You will add a “baseboard like” trim on the bottom.

Step 2-Sheet your wall with your 1/2in MDF. Try a use as many full pieces as you can. I used two full sheets and cut three pieces. Use your 2in finish nails and use a screw every once in a while into the studs. I only used 1-3 screws per board. Where all the gaps are, we will try to cover them up with the strips on the front.

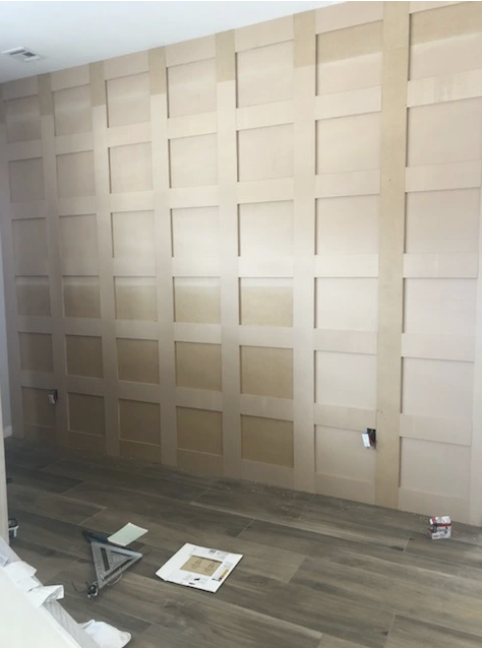
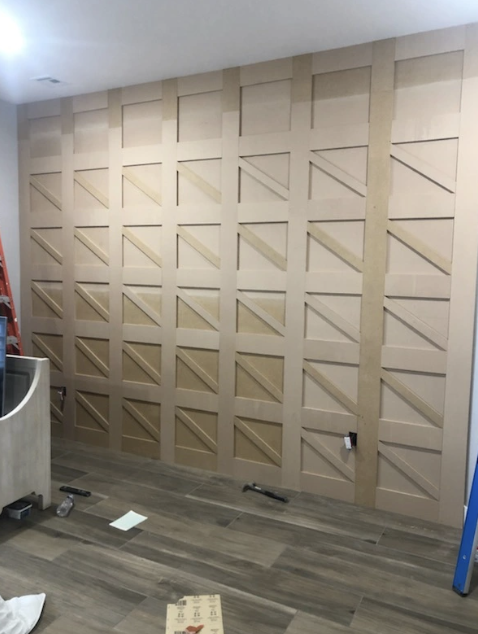
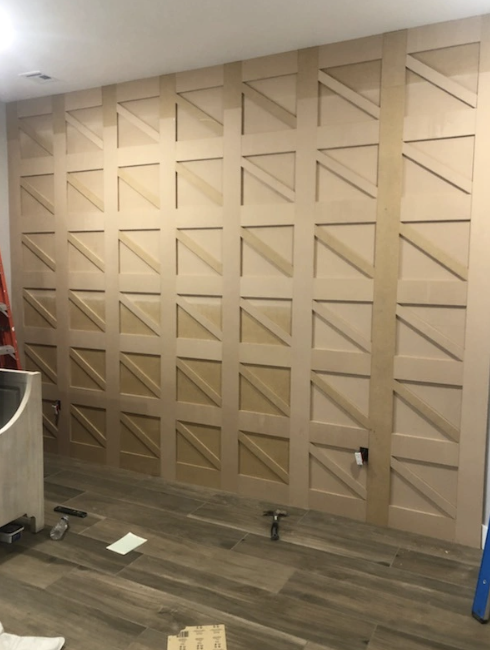
Step 3-Cut 5 inch MDF strips for the vertical boards. Attach them on top of the MDF sheet wall using wood glue and 1 1/4in finish nails.I spaced mine about 14.25in from one another. Every wall size will be different, be sure to measure and space according to what you what. Level is really great for this part to help keep your strips straight.

This image has an empty alt attribute; its file name is accent-wal-1.jpg

Step 4-Cut 5 inch MDF strips for the horizontal boards. Attach them in between the vertical strips using wood glue and 1 1/4in finish nails.First start with the top and bottom. I spaced mine about 11.75in from one another. Every square may not be a perfect square. Just measure each strip. Don’t forget to use your level.

This image has an empty alt attribute; its file name is accent-wal-2.jpg

**You are leave you accent wall like this. Squares only.

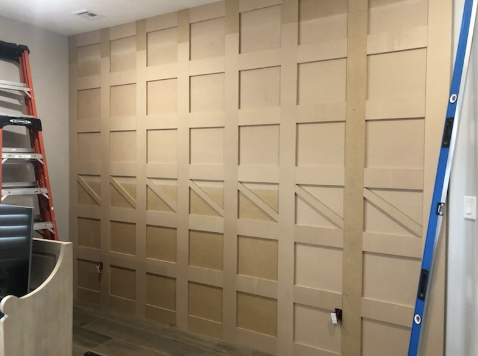
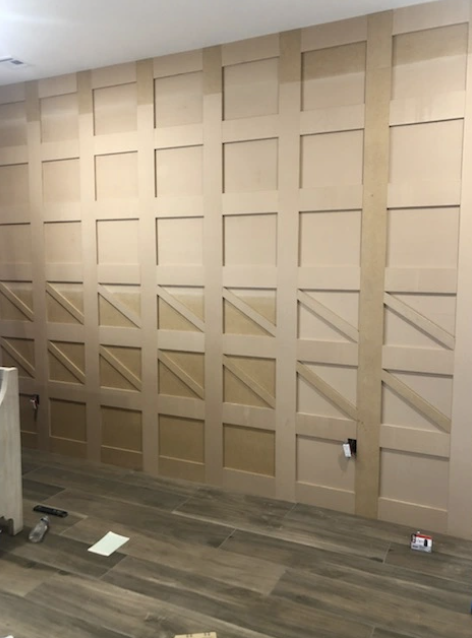
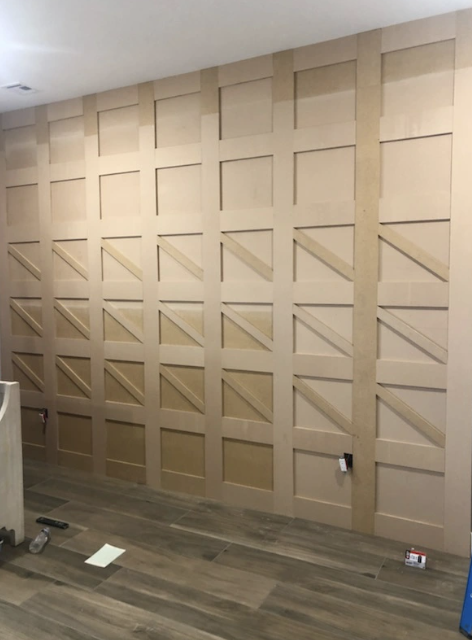
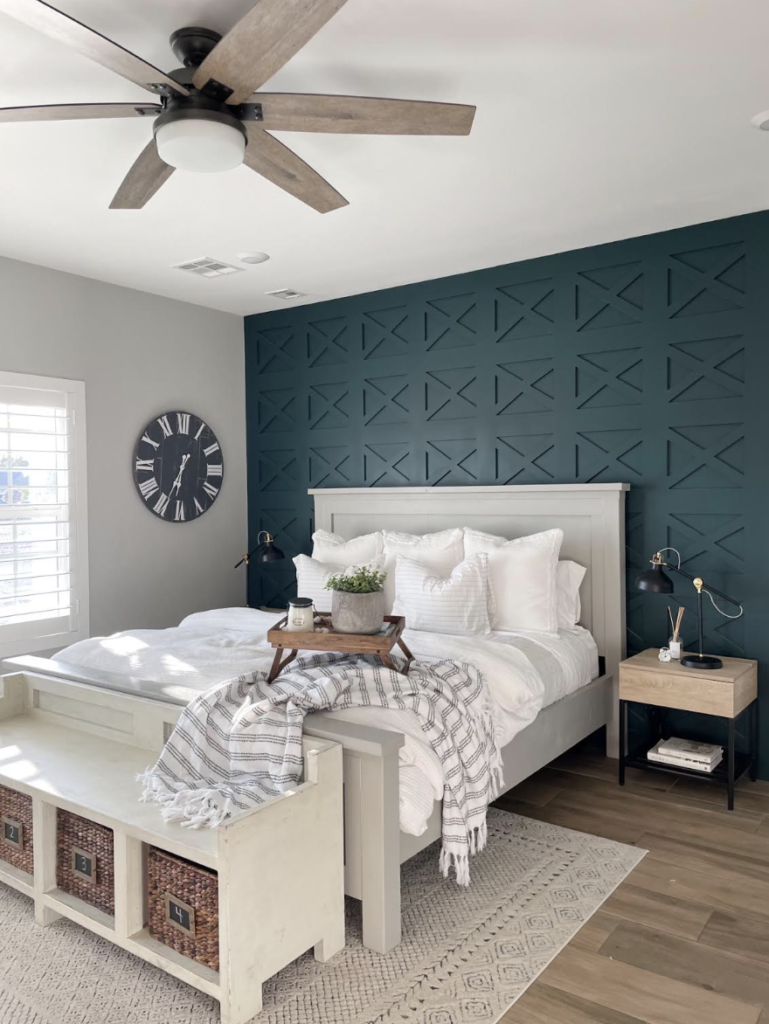
Step 5-For the X’s, I cut them at 2in wide.The longer pieces were approx. 18.5in long and the shorter pieces were approx. 8.5in. I always made sure the longer point of the X met in the corner. Using my miter saw I cut my angles of each strip anywhere from 20-35 degree. This part does take forever because each cut is different. But I promise it will all be worth it in the end.

Step 6-Once all the cuts are done, punch any nails that need to be hammered in more. Fill all the nail/screw holes, and if you have any gaps that didnt get covered up by the strips up front with wood filler. Let dry. Sand holes lightly.

Step 7-Caulk the ceiling and sides to wall the wood and drywall meet. Caulk every edge within each square and/or X. It’s very time consuming but this step is very important. It covered up all your flaws and mistakes. It gives your project a professional look rather than that DIY look.

Step 8-Once your caulk is dry, you can start priming your wall. This step is very important. Be sure to buy the right kind of primer for this kind of wood. It will help you to not have to use as much paint.

Step 9-Your wall is ready to paint. All together is probably took me about 2 days to do the wood part. 1 day to fill the holes and caulk. 1 dry to prime and paint.

Before...

After...

The Chappell Residence, DIY, Projects, Food, Recipes, Home Decor, Southern Nevada Owner Builder