
PHASE, 1 LATH COAT
The foam of this step helps the R-value of the house. R-value stands for Resistance to Conductive Heat Flow. Basically, this helps insulate your house even more along with whatever insulation you put on the your exterior and interior walls. It’s very energy efficient and it will help be resistant to extreme temperatures, like Nevada. Some companies do only use a black weather paper for this first layer instead of the foam so be sure to ask your stucco company what they use. The chicken wire step helps support the actual stucco. Chicken wire is very easy to bend and it can be very easy to wrap your house with. The wire will grab the product and hold it in place while it dries.
PHASE 2, BROWN COAT
There are actually two steps with this phase as well. The first step is called the scratch coat. This is your base layer that will grab onto the chicken wire. The scratch coat is a mixture of cement, dirt and water. The cement will help the stucco be more durable. It has a more textured rough look, but this will help the “brown coat” bond to it.The next step, using the same products, is called the brown coat. This layer is applied on top of the scratch coat to get a more smooth even finish look. It’s called “brown coat” because of the dirt and cement combination. But it also looks more brown when it’s wet and first applied on the house. Once it is dried, it will look more gray, like cement. After the brown coat in done, it usually takes about 5-7 days or more for the final coat to be applied. My stucco guy recommended that we water down the brown coat, once a day, every day. This will help with cracks and help the brown coat cure at a more slower and better pace. Also, if you are wanting any stone, brick or tile applied on the house, you would stop at the brown coat. That’s because it has the cement in it and will help your mortar for your stone, brick or tile stick to the house. The final coat has paint in it and it makes it harder for the rock to stick to the house.

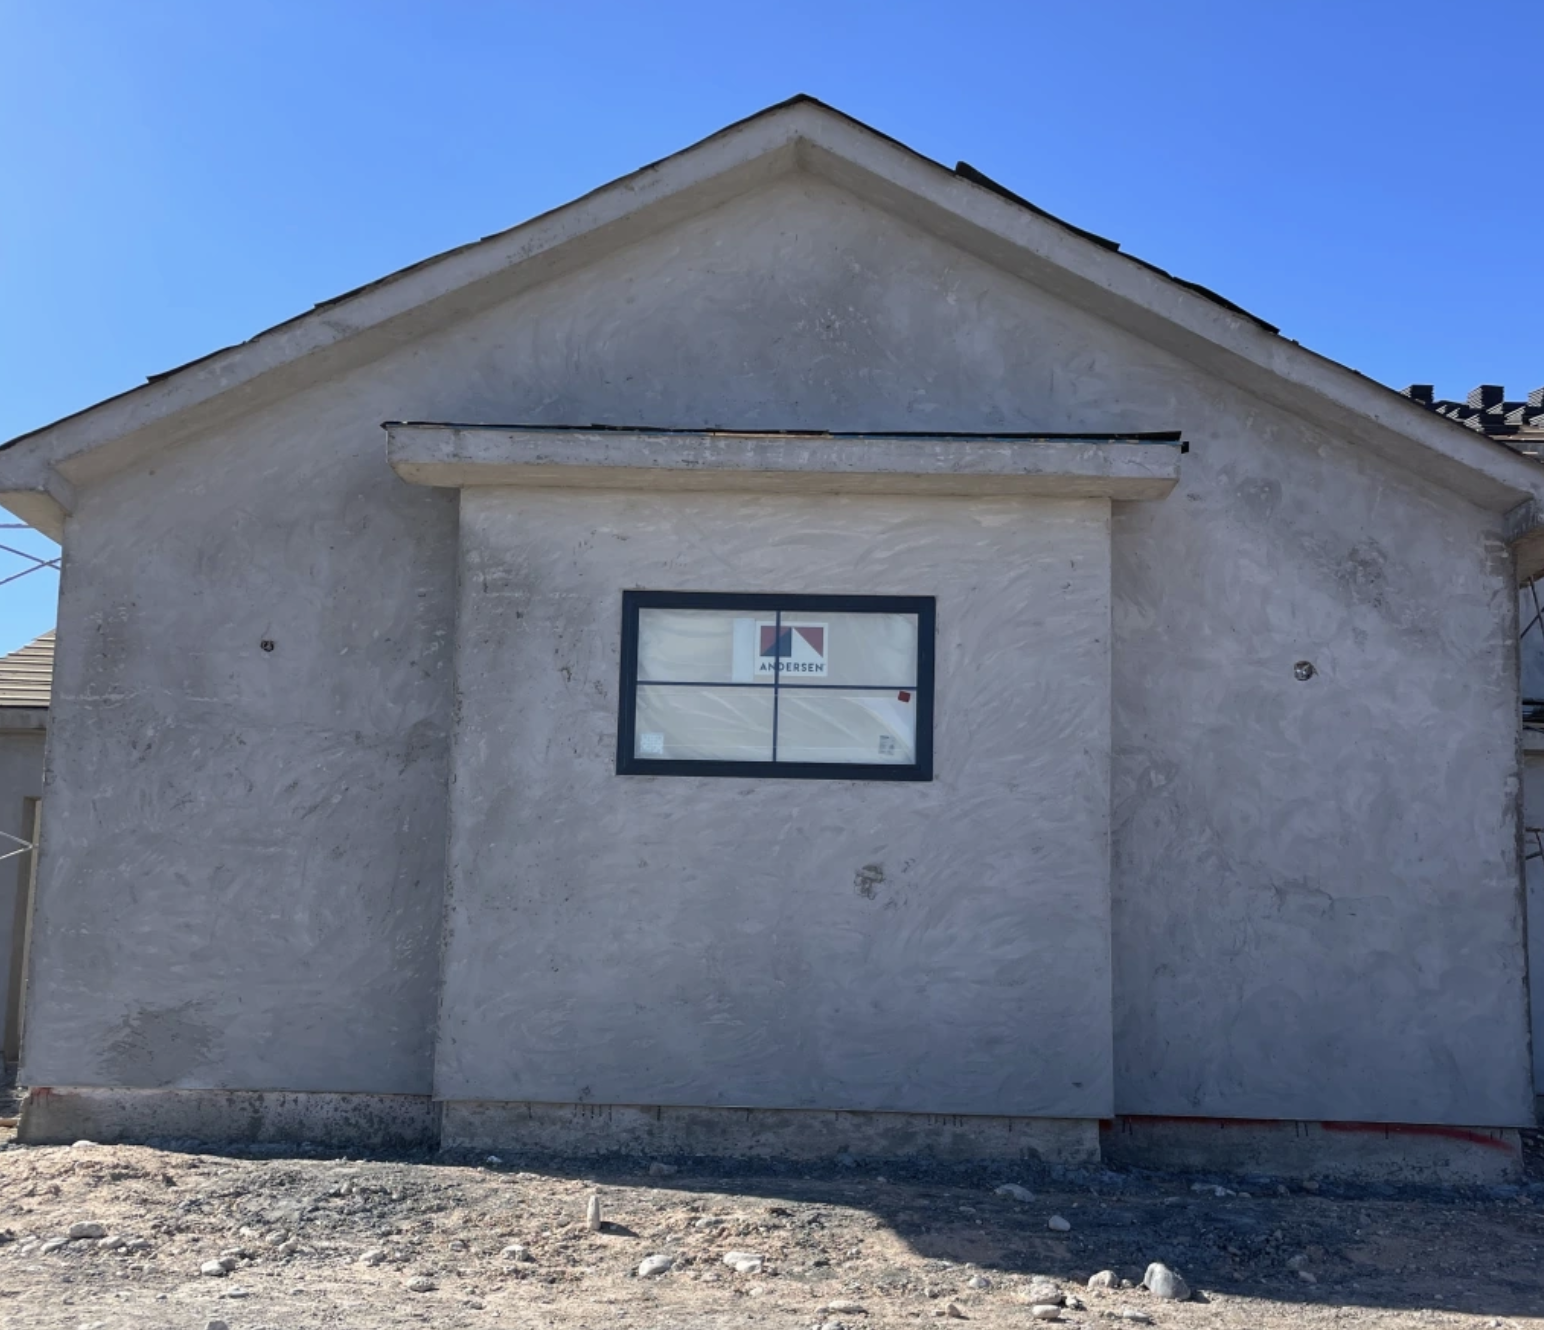
PHASE 3, FINAL CUT
The final coat is what you normally see on the outside of a house. The good thing about stucco nowadays, is that you can mix any paint color you like to achieve whatever look you know. Most of the time, the stucco will use a flat paint on the final coat. That’s because it helps hide any imperfections and hides the texture of the stucco as well. The lighter your stucco color is the more prone it will fade. The darker the stucco color is, it can fade a little in time with the wear and tear of the house. This final coat step is usually a one coat finish but if you decide to do a smooth finish look, it’s usually takes two coats. Which brings me to my next point. Stucco has a lot of different types of finishes. But you can find more information on this blog post here